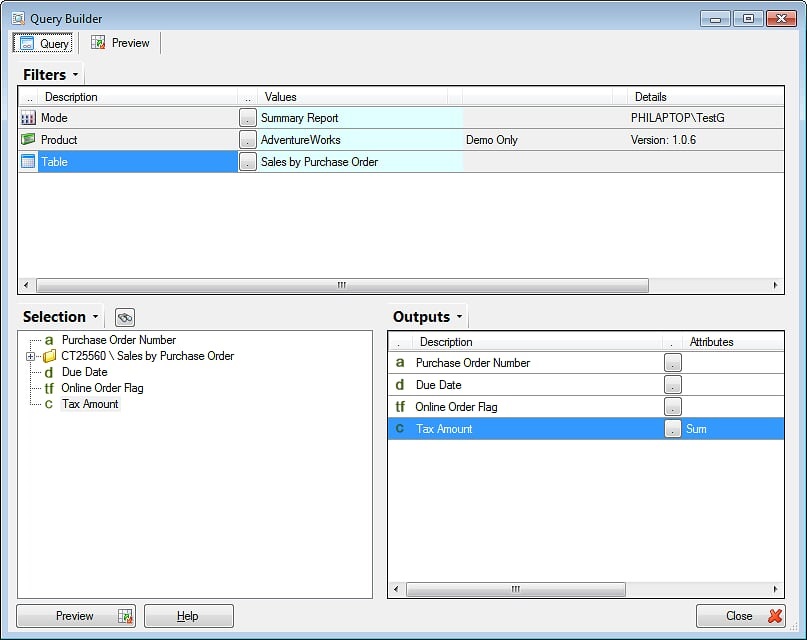
Custom Tables that extend the Datamodel
Custom Tables are used to extend the Datamodel with new Tables that are often very specific to the requirements of the client’s environment. The Custom Tables are stored in the SharperLight database and are merged with the master Datamodel so that new versions can still be installed.
Custom Tables are created by first generating SQL or MDX of the designed data simular to a SQL View. Please remember to give all the columns unique names and remove any sorting before importing. Once created they can be used immediately by that session. Custom Tables will appear to other Users using Excel, Query Builder or Explorer when they start a new session. However reports in the Web Channel will require the Service to be restarted before they appear.
Keep in mind it is also possible to extend an existing Table with Custom Joins and Custom Fields and this may be all that is required without resorting to whole new Table.
The Steps to create a Custom Table can be summarized as follows
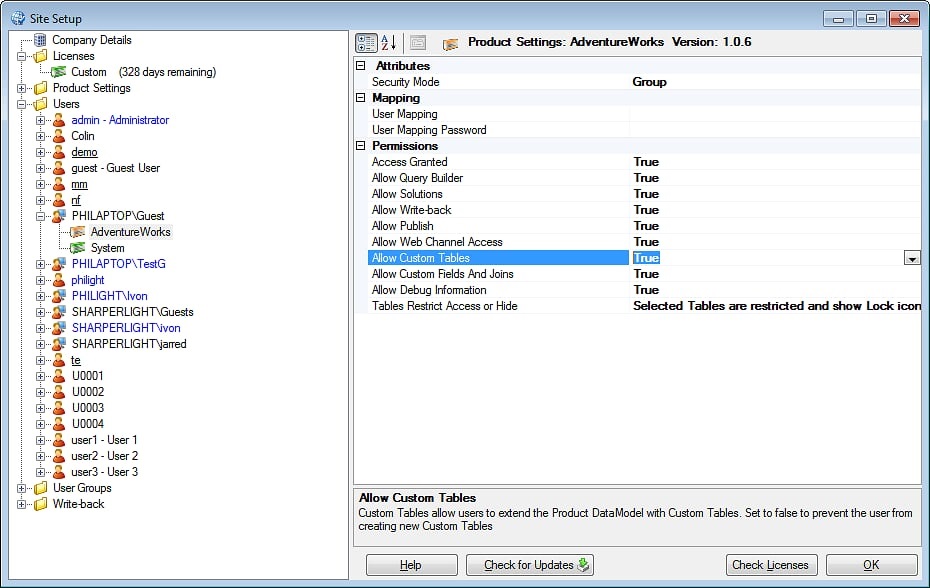
1) Ensure that your Account has permissions to create Custom Tables in Site Setup
2) Create SQL statement
3) Give all columns unique names in the SQL statement
4) Remove Order by and Top clauses if present
5) Select Create Custom Table and Import SQL
6) Give the Custom Table a unique code and Description
7) Fix the Field descriptions if required
8) Add any Joins to other Tables if required
9) Fix the Field Lookups if required. (E.g. Inherent another Tables Field Lookup to get a complete list of codes)
10) Specify where the Table is to be displayed in the Table Lookup if required
11) Save
12) Test new Custom Table in Query Builder
13) If the Custom Table is also required in the Web Channel – Restart the Central SharperLight Service.
Check you have Create Custom Table Permissions in Site Setup
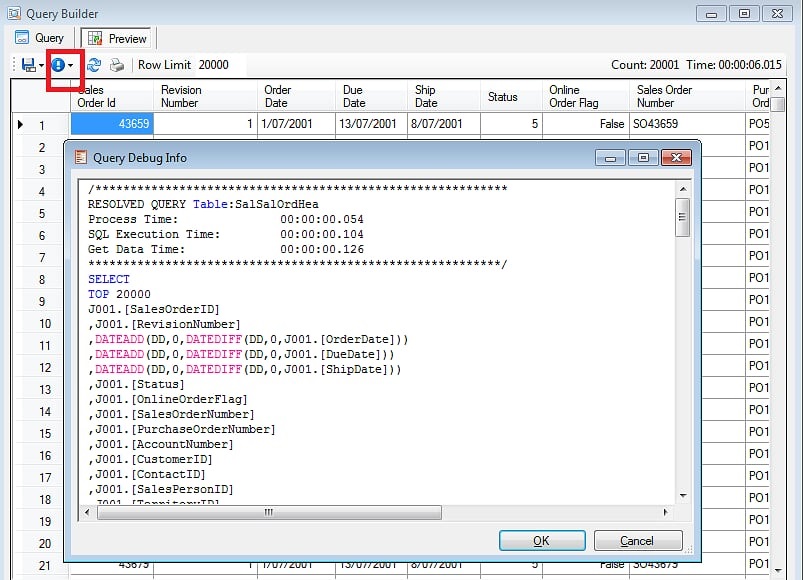
Create a SQL statement
You may what to use the Query Builder to generate SQL to get the basis of the report. SQL can be viewed in the Preview Tab under Information – Detailed Query Information. Copy and edit this SQL
SQL statement sample using Adventure Works
Notice all the SQL columns have unique names including the SUM, remove any TOP and ORDER BY parts of the SQL also
- SELECT
- J001.[PurchaseOrderNumber] as PurchaseOrderNumber
- ,J001.[DueDate] as DueDate
- ,J001.[OnlineOrderFlag] as OnlineOrderFlag
- ,SUM(J001.[TaxAmt]) as TaxAmount
- FROM [Sales].[SalesOrderHeader] J001
- WHERE J001.[PurchaseOrderNumber]>”
- GROUP BY
- J001.[PurchaseOrderNumber]
- ,J001.[DueDate]
- ,J001.[OnlineOrderFlag]
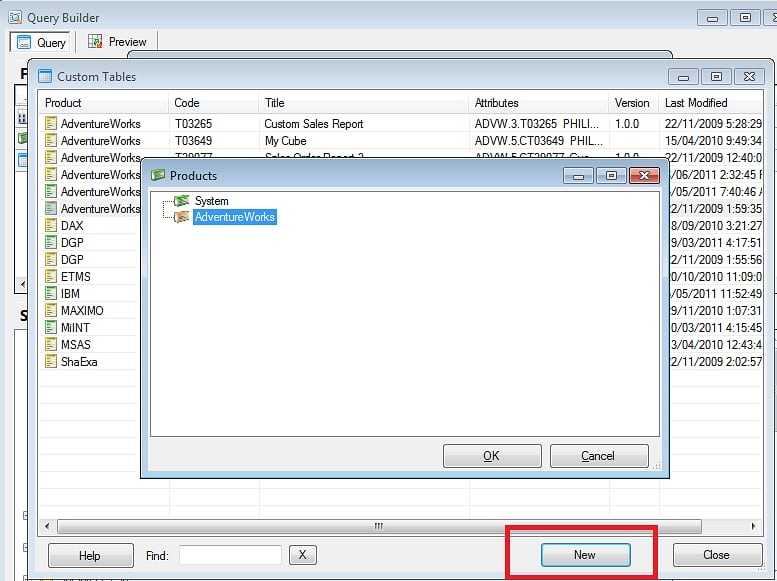
In Query Builder Table Lookup – Right Click and select Custom Tables
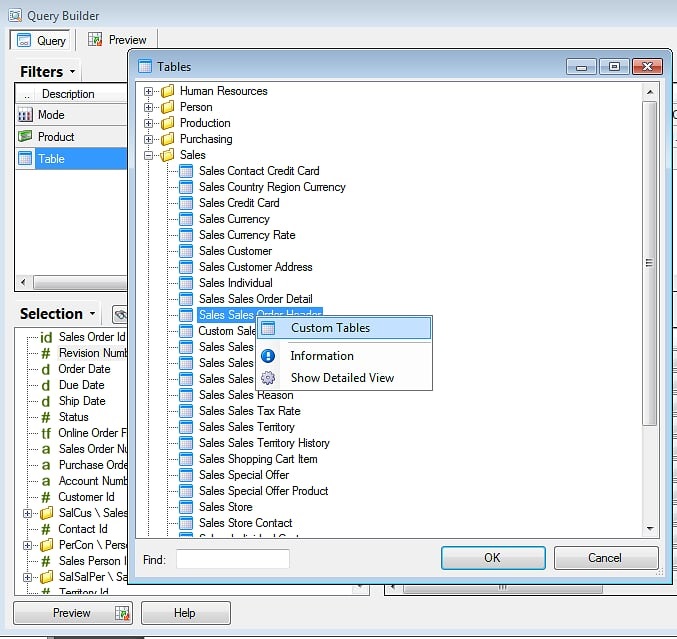
In Custom Tables click the New button and select the Product the Custom Table will be displayed in
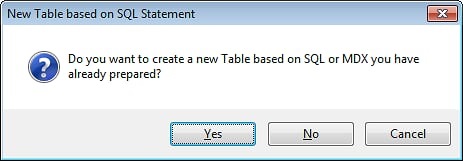
Select Table based on SQL
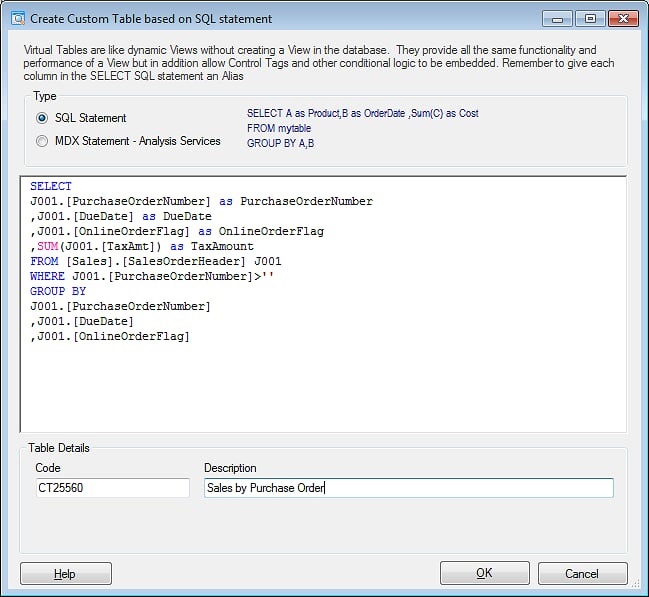
Paste the SQL statement and change the Table code and description to suit and click the OK button
If there are no SQL errors the following Window will appear. All the details of the Table and columns based on the schema will appear on the Table Details Tab.
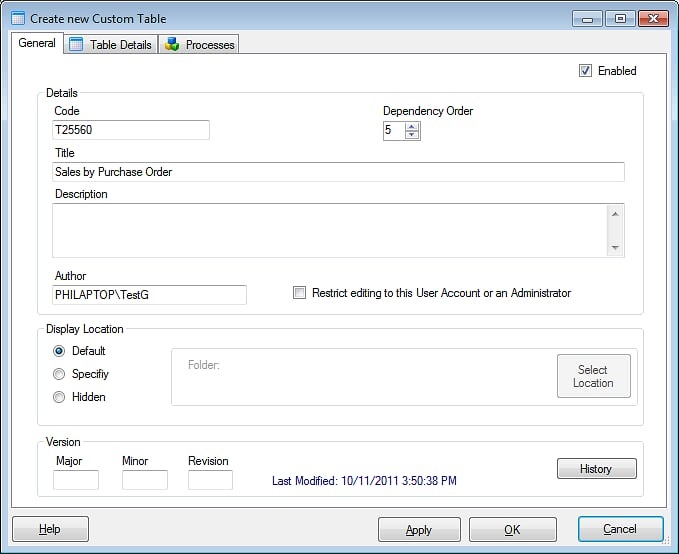
You can customize the Field descriptions, add Joins to other Tables and override the Lookup behaviour to further polish the Custom Table. It is possible to also add pre and post processing events on the Table but these are for more advanced requirements
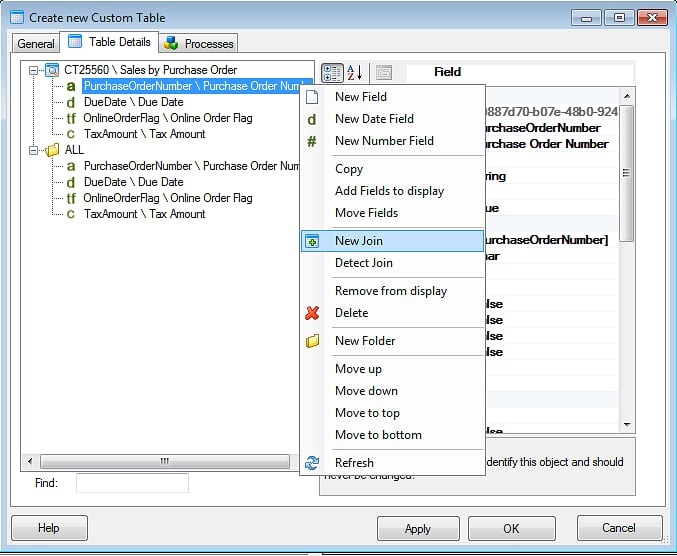
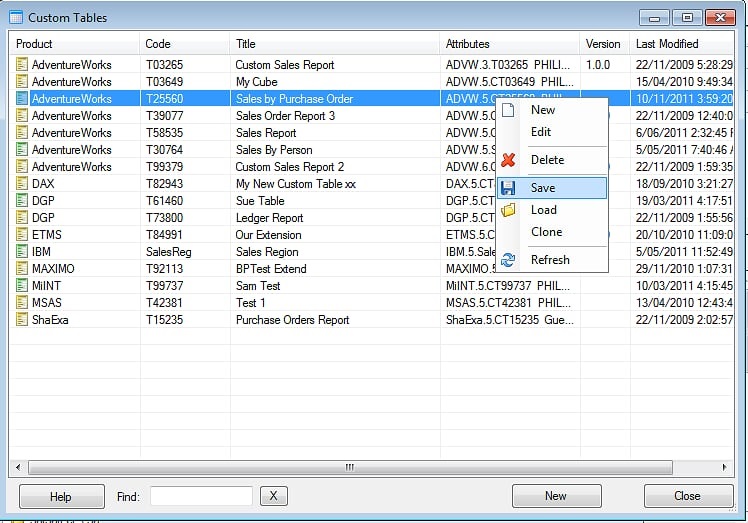
Click OK in the Custom Table Window and you will see the New Custom Table listed. Remember that the Custom Table can be export to a File if required or even cloned. The Custom Table is ready to use so Close the Custom Table Lookup Window
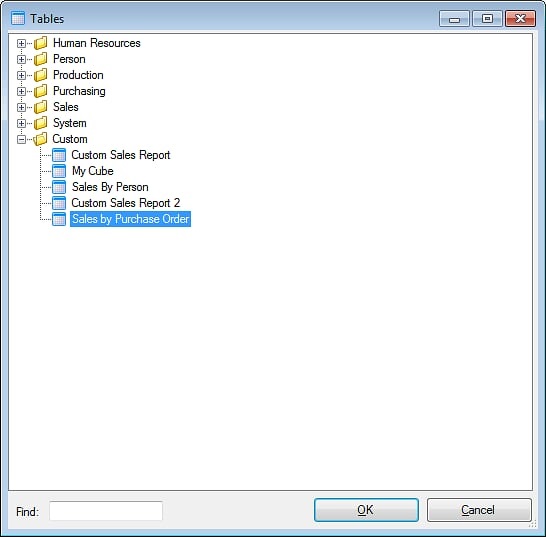
If you have not provided a location to display the Custom Table it will appear under the Custom Folder in the Table Lookup of the target Product
Start using the Custom Table in Query Builder to produce reports. If you need to edit the Custom Table using the Right Click menu on the Tables to select Custom Tables.