Power BI – Custom Connector
The PowerBI Custom Connector was released in Sharperlight 5.0, which allowed Sharperlight to integrate with Microsoft’s popular BI tool. This means that any Sharperlight published report can be used as a dataset in Power BI.
Users will now be able to use the Power BI Custom Connector, to utilise Sharperlight’s advanced query capabilities as a data acquisition step. This also allows for any pre existing reports to be used in Power BI. The ability to use Sharperlight as a data acquisition tool can drastically reduce time spent when compared to creating complex queries within Power BI.
The data that users can access from Sharperlight can then be pushed into Power BI with a few additional steps, and is fully refreshable both in the desktop client, and through the web platform with the assistance of the On-Premise Data Gateway.
Prerequisites and Configuration
There are two main prerequisites required for the Power BI Custom Connector to function properly.
- Power BI Desktop needs to be installed.
- The Power BI Connector is only introduced in Sharperlight version 5.0, which means that the server where the queries are located must by running that version or newer. A full install of Sharperlight is also needed (not just a client install) on the client’s side.
Once you have installed Power BI Desktop, you must then ensure that it is configured to allow Third-Party data connectors. You can find this setting under Settings and Options > Security.

Setting Up and Using the Connector
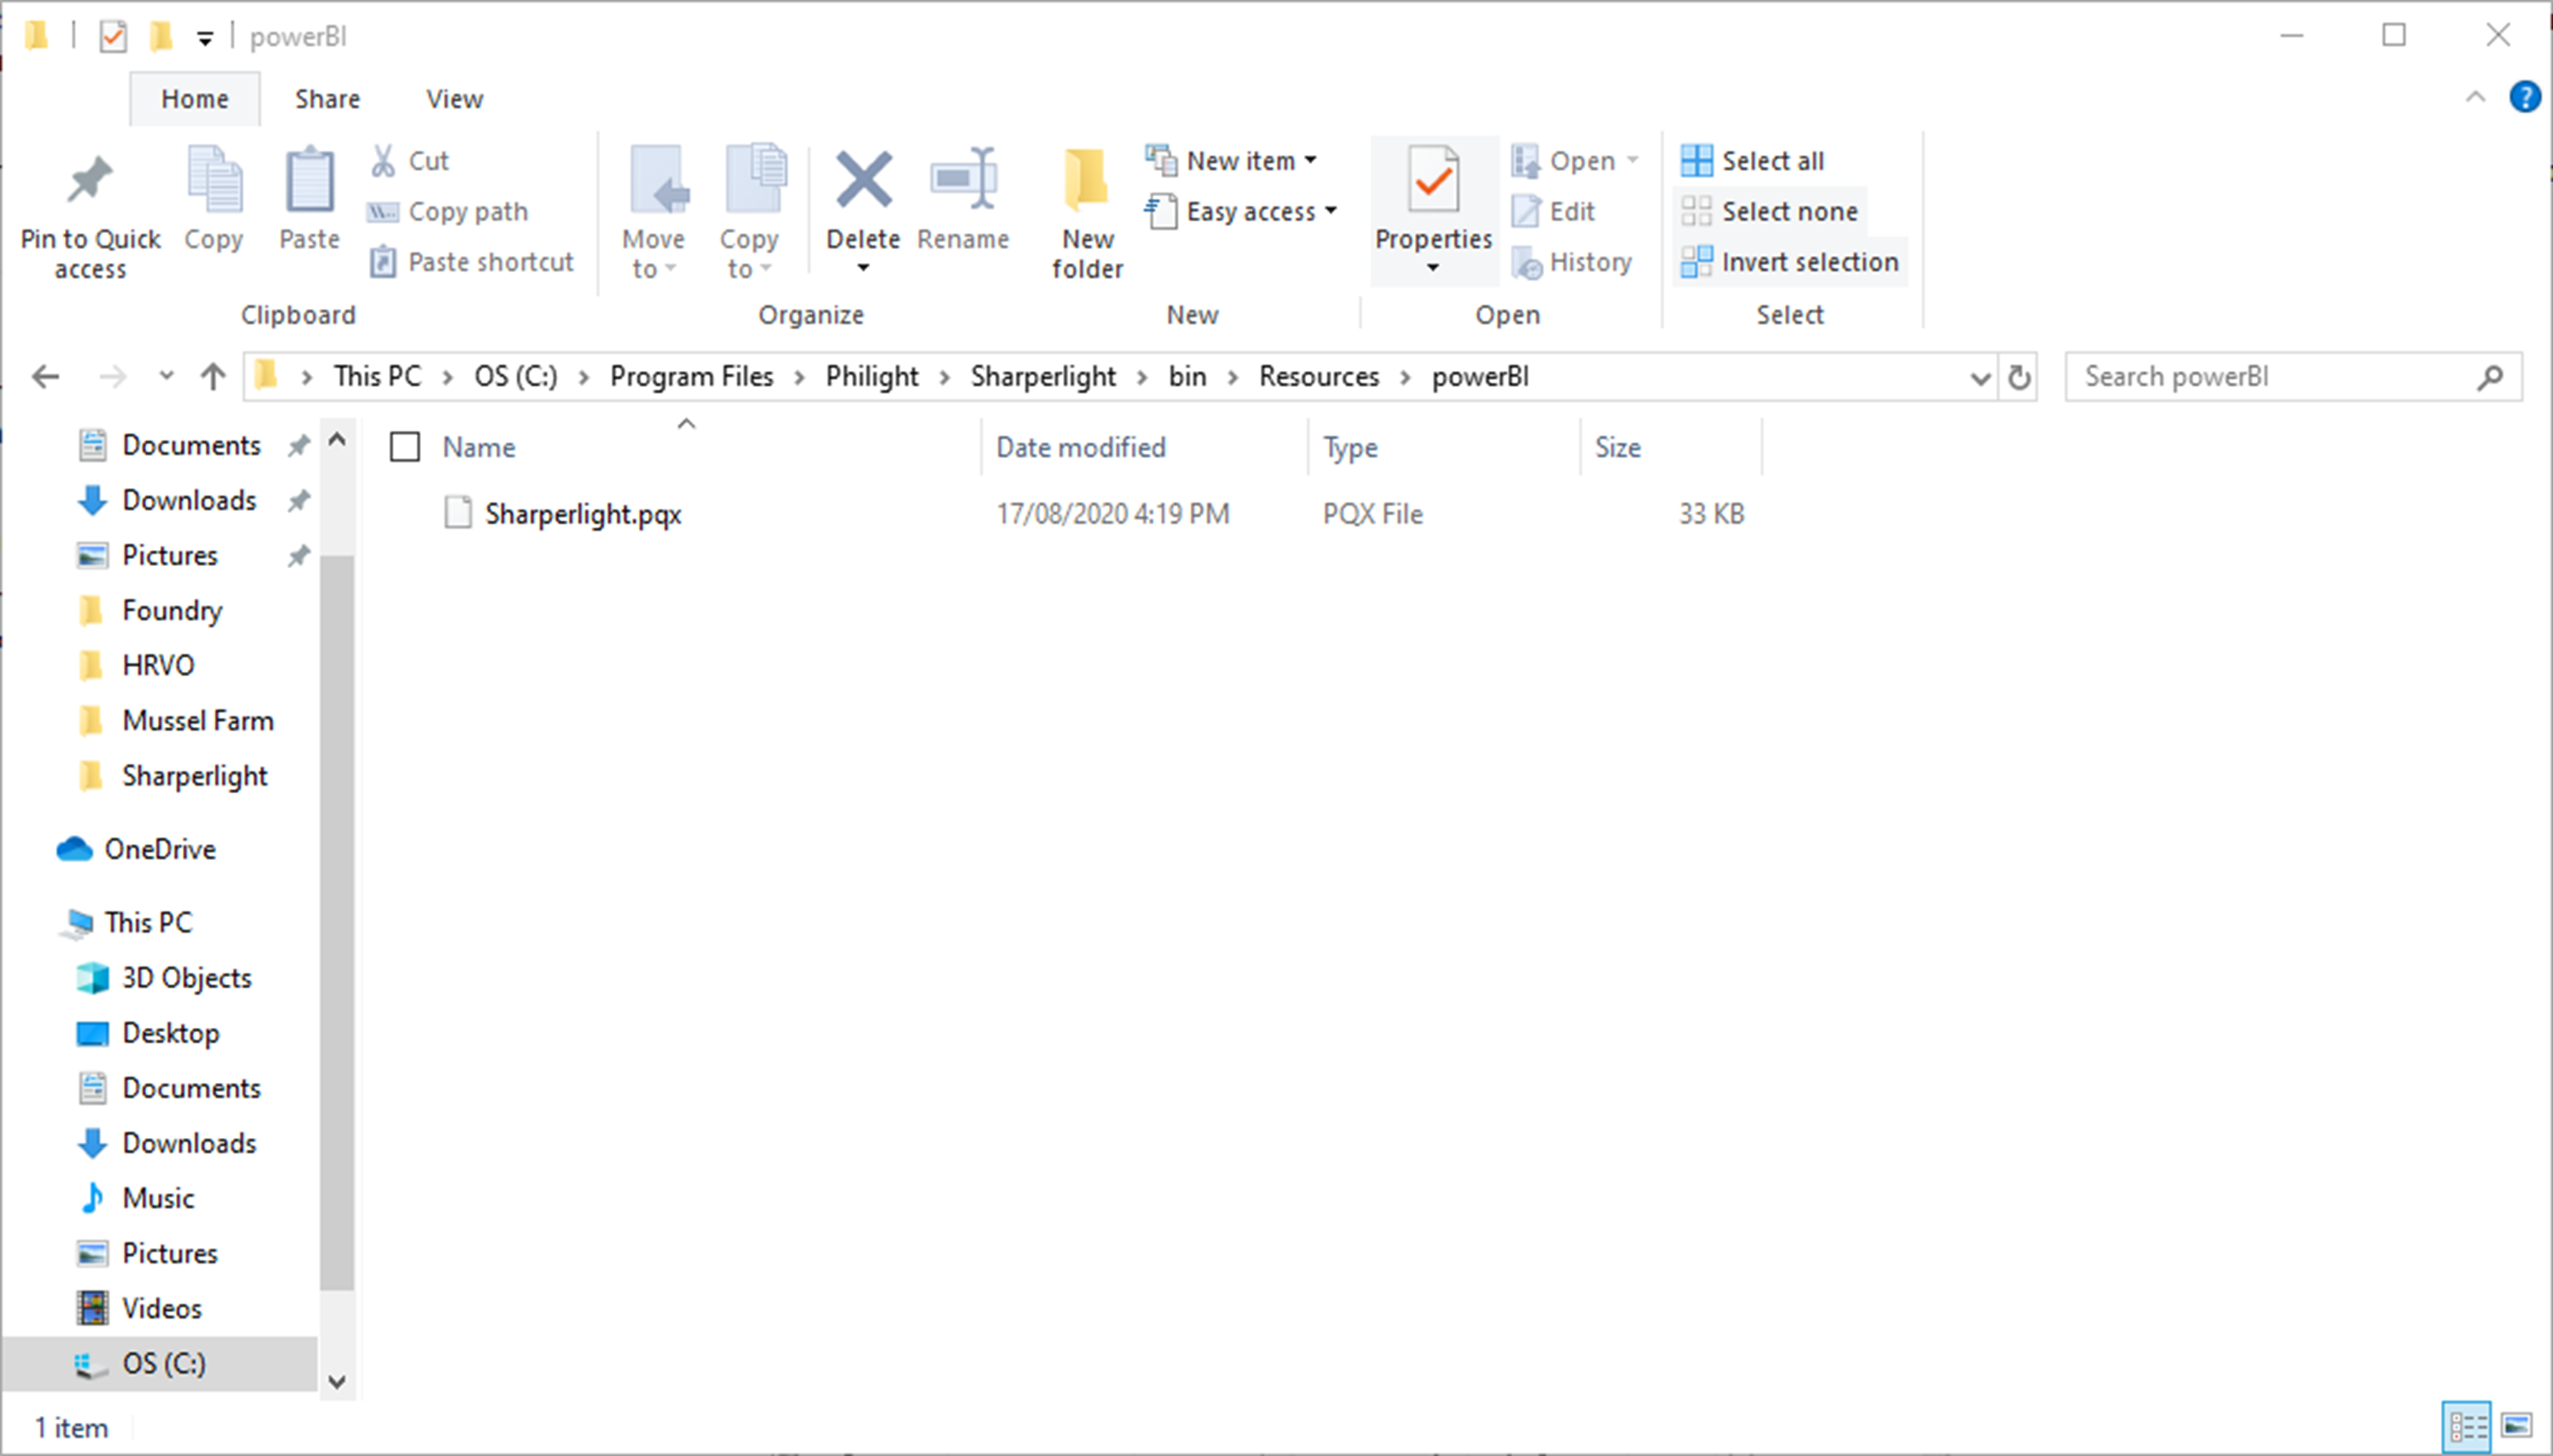
Open Windows Explorer and navigate to this location.
“C:\Program Files\Philight\Sharperlight\bin\Resources\powerBI”
If a full install of Sharperlight is performed, then there should be a file within that folder called “Sharperlight.pqx”.
Open Site setup and it will automatically attempt to deploy the connector.
Open Windows Explorer and navigate to this location to check if the connector has been deployed correctly.
“Documents\Power BI Desktop\Custom Connectors”
The “Sharperlight.pqx” file should now be found here. If it is not there, then copy the file from the location in step 1.

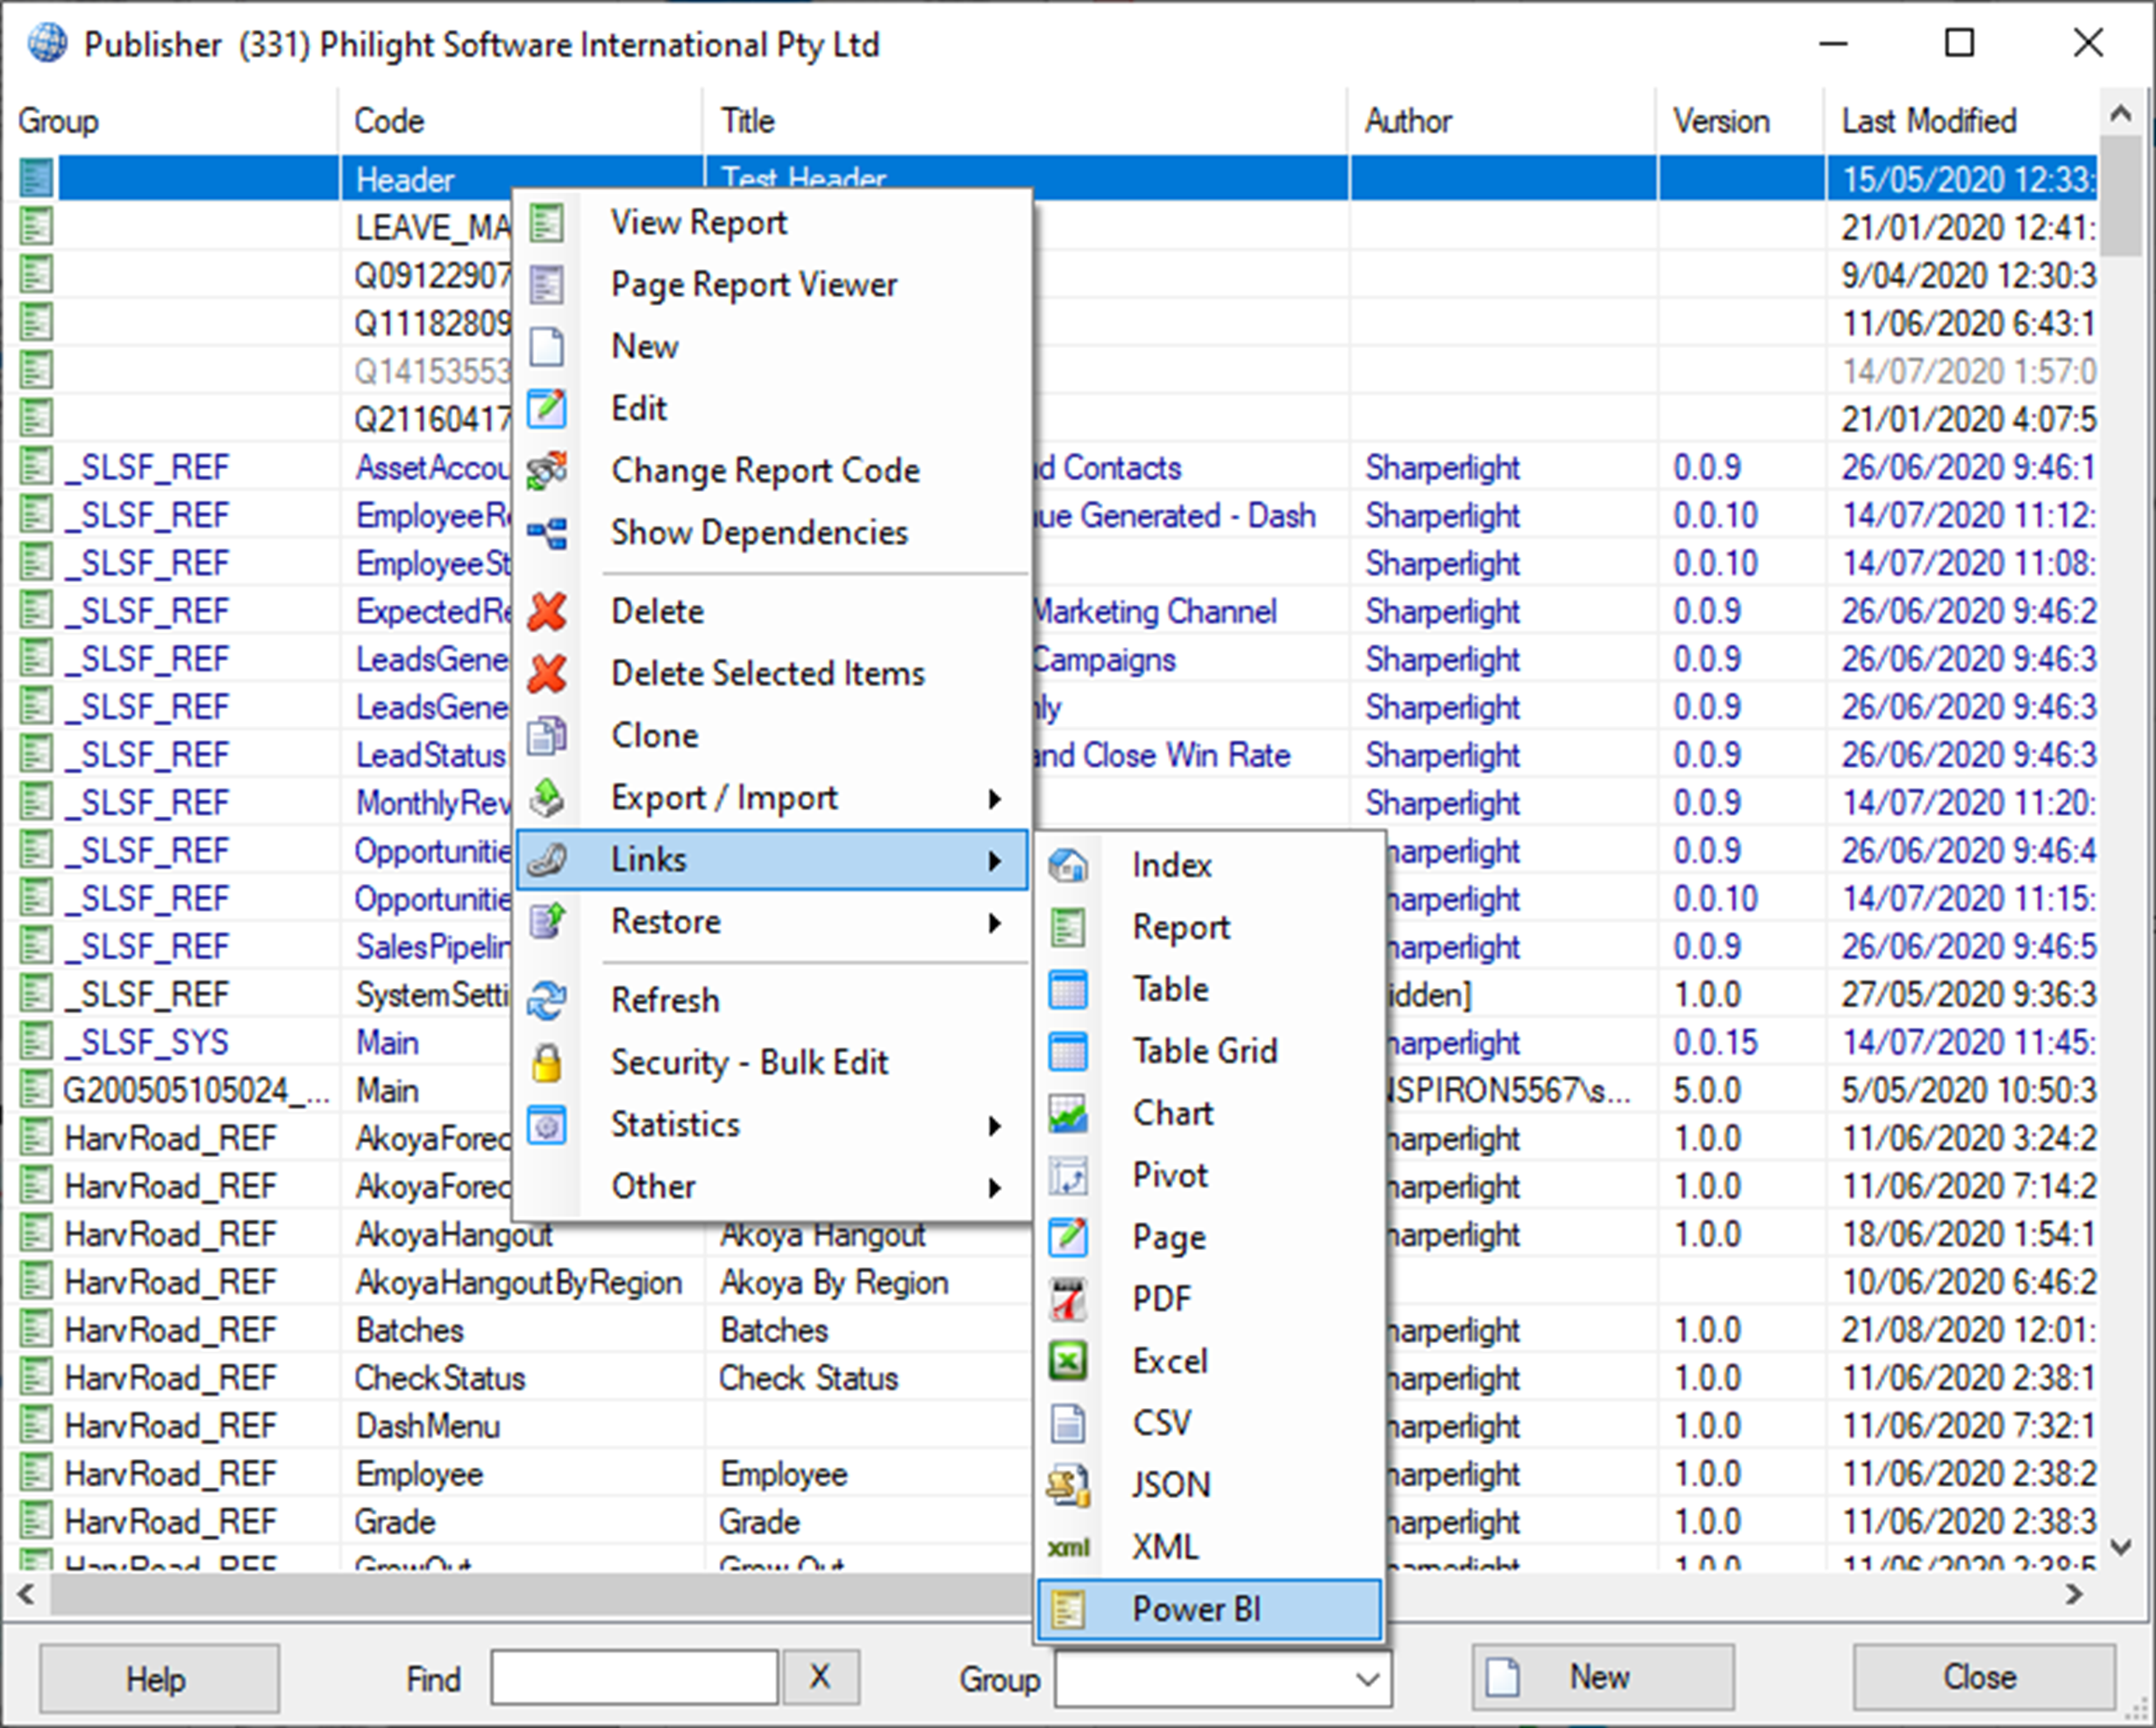
Within the Publisher interface, right click any report and hover over the Links drop down. The Power BI option will copy the link to the Power BI end point to the clipboard.
Open up Power BI. Click on Get Data, select Other, click on Sharperlight, click connect and paste the URL that was just copied into the pop up screen.

You will now be prompted for some form of authentication.
Choosing which authentication method will depend on how the Sharperlight service has been configured, and the settings of the specific user’s credentials. Sharperlight recommends using either Windows, Basic or Sharperlight Feed Key as the form of authentication.
- Windows: This form of authentication will use your Windows Account.
- Basic: This will require a username and password. Use the same credentials as what has been set in site setup.
- Sharperlight Feed Key: Sharperlight Feed Key will ask for the Sharperlight setup token, which can be found be going into site setup and creating a client secret.

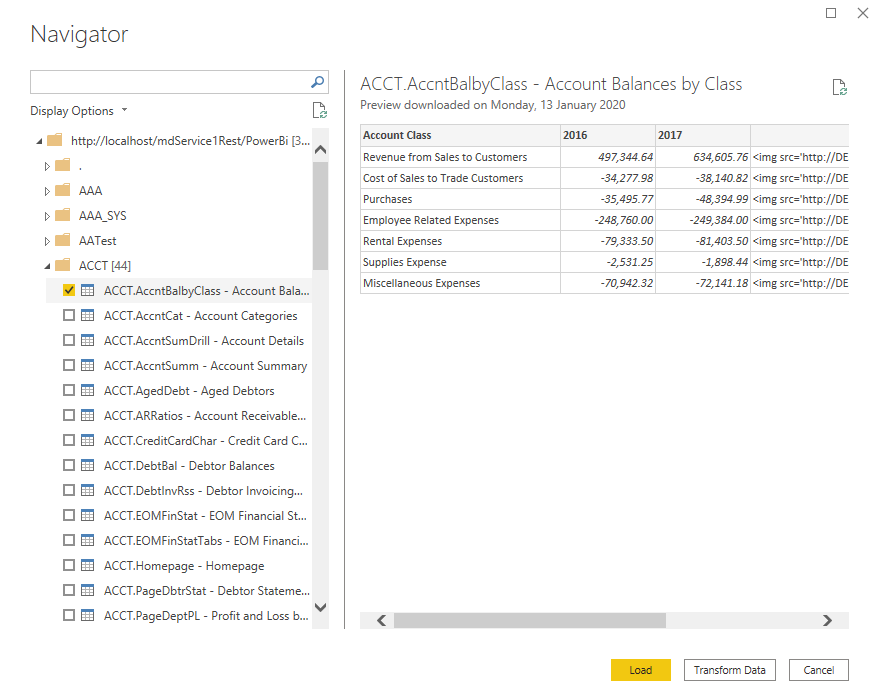
Once the authentication is set, you can select any of the published queries that have been created as a refreshable Power BI data source.