
Extension Datamodel
Introduction
An Extension datamodel is a datamodel created to complement a Master datamodel without modifying it. For example, a Master datamodel is typically created for an application’s database. This datamodel is then distributed to clients along with the application.
However, the application may allow clients to add their own tables and fields to the database. In such cases, it is not possible to add information about each customer’s tables and fields to the Master datamodel. This is because distributing the Master datamodel would expose the tables and fields added by other customers. To avoid this, Extension datamodels are created for each customer, defining the added table and field information etc. and complementing the Master datamodel.
This post explains the steps for creating Extension datamodels with several examples.
We have a sample database and its master datamodel connected to the database.
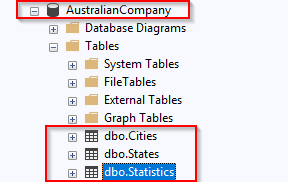
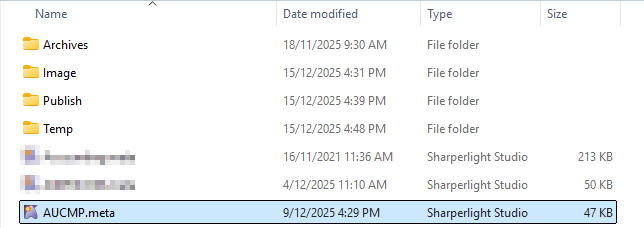
It has these information in it.
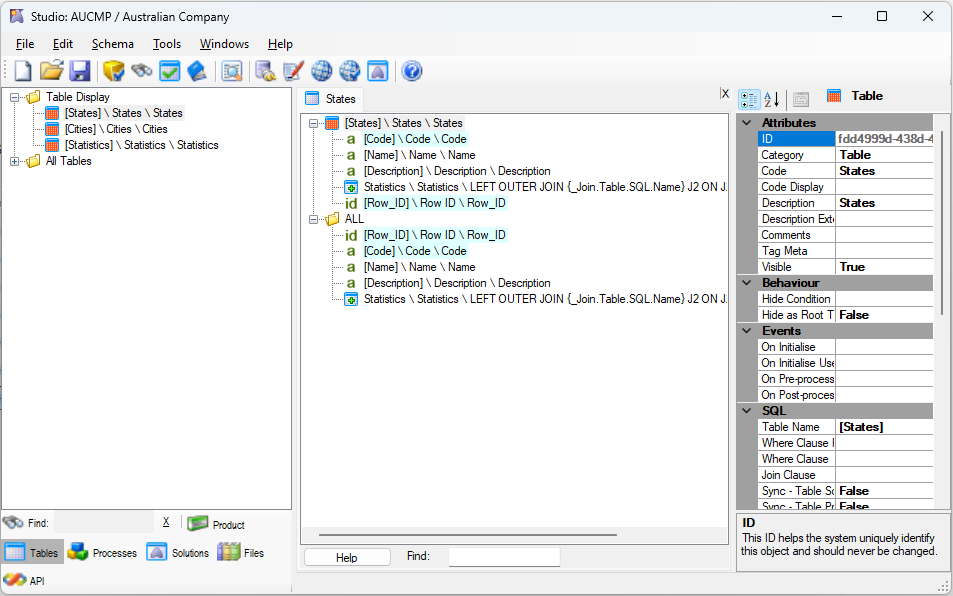
Let’s use them for this post.
Practices
Customizing the database
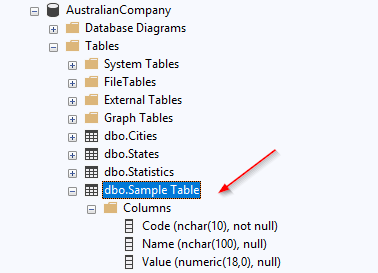
Now let’s add a table to the database. We’ll do this exactly as a customer would when creating their own table. Normally, this may be done through the core application, but here we’ll add it manually.
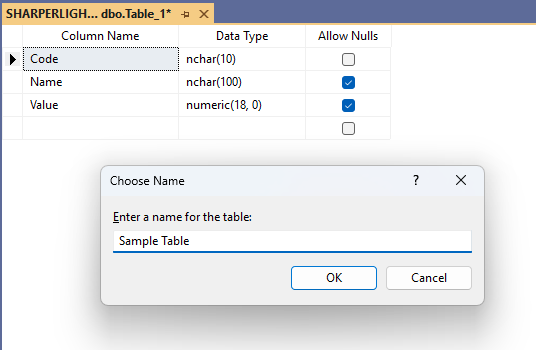
Creating the Extension Datamodel
We added the table to the database so we will import the table details into the Extension Datamodel.
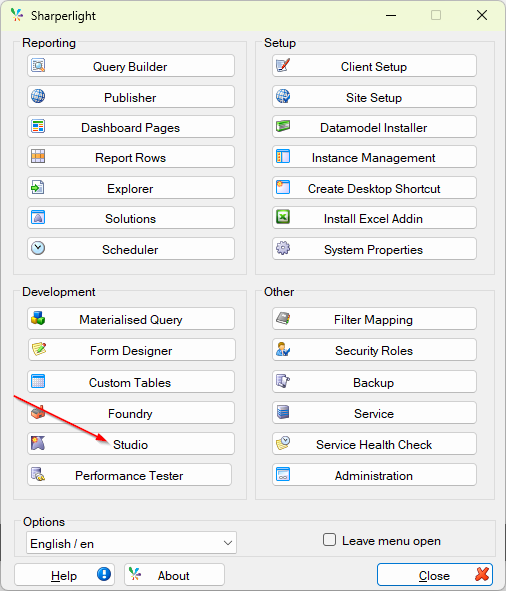
Open Studio from Sharperlight application menu.
Click “New” Icon on the Studio.
New Product dialog is displayed, configure the attributes like this.
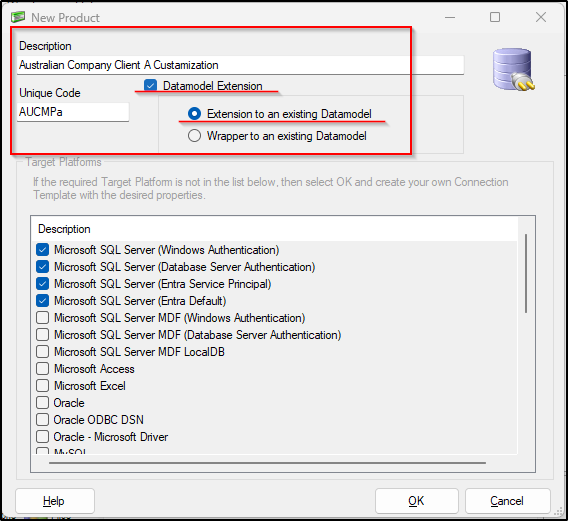
Select “Datamodel Extension” option – Because we are creating the extension datamodel.
Choose “Extension to an existing Datamodel” option – The existing Datamodel is AUCMP (Australian Company).
Type the description of the Extension Datamodel.
Give the unique product code for the Extension Datamodel – Better to use the product code of the master as the base. “AUCMP” is for this case and add meaningful suffix.
Then click OK to proceed.
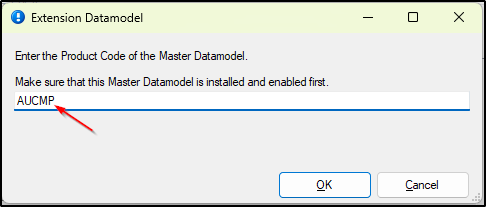
With the next dialog, set the product code of the Master Datamodel which is AUCMP (Australian Company).
Then click OK for the next.
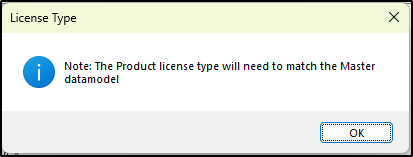
Click OK for the next.
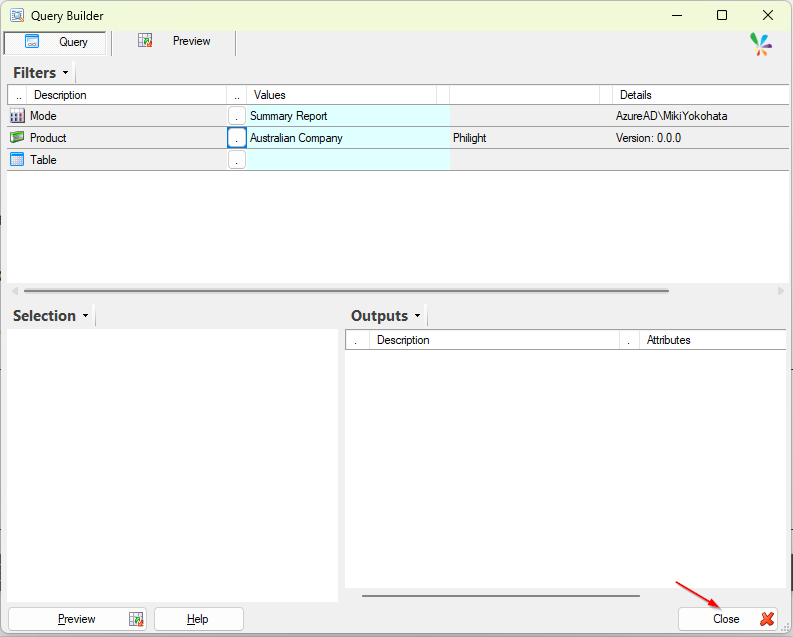
Click OK to proceed and the Query Builder will be displayed.
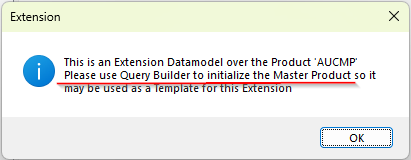
This process is required by the Sharperlight Engine to initialize the Master Product (Datamodel) prior to creating its extension .
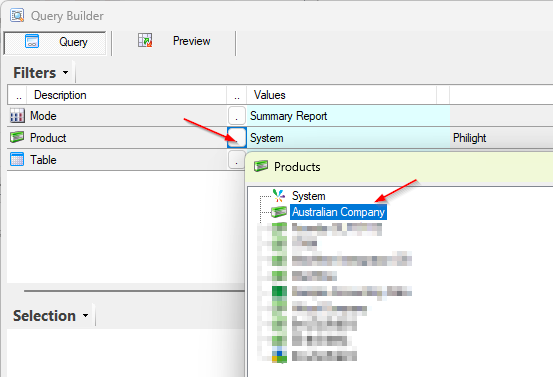
Click Product lookup button and choose “Australian Company“.
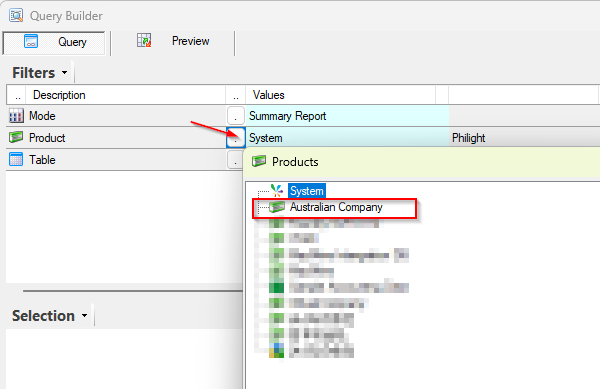
Once the Master Product is chosen, you don’t need to select any fields for the outputs so just click OK to close the Query Builder.
Studio Product Connection Details dialog opens.
We can make the database connection for this Extension Product (Datamodel) here to import the information of the customized objects from the database.
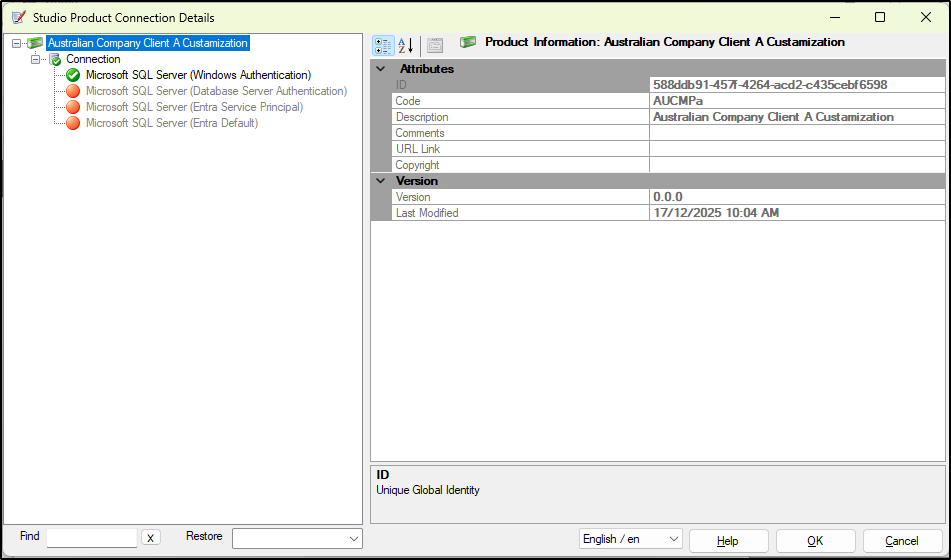
Input the database connection details and click Test for making sure the database connection works.
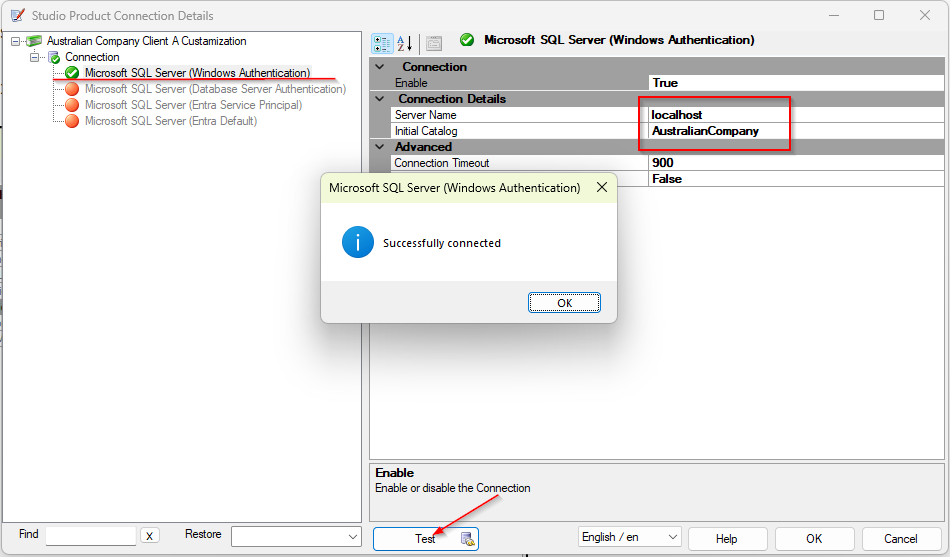
Close the message and click OK to close the connection dialog.
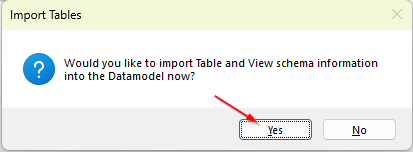
As soon as the connection dialog is closed, this message is displayed so click Yes to proceed.
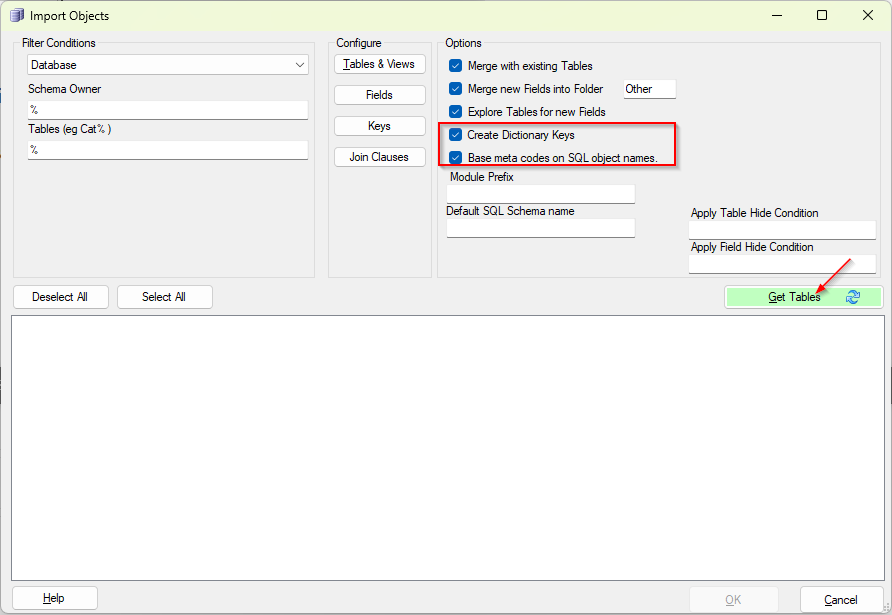
Choose the option “Base meta codes on SQL object names” on the Imports Objects dialog.
This make the code for the tables and fields in this datamodel readable. If the database objects are imported without this option, their code will be simplified and shortened.
Choose the option “Create Dictionary Keys” if the datamodel is required other languages rather than English.
This will generate the dictionary keys for the description of the database objects for you.
Click Get Tables to import the tables from the database.
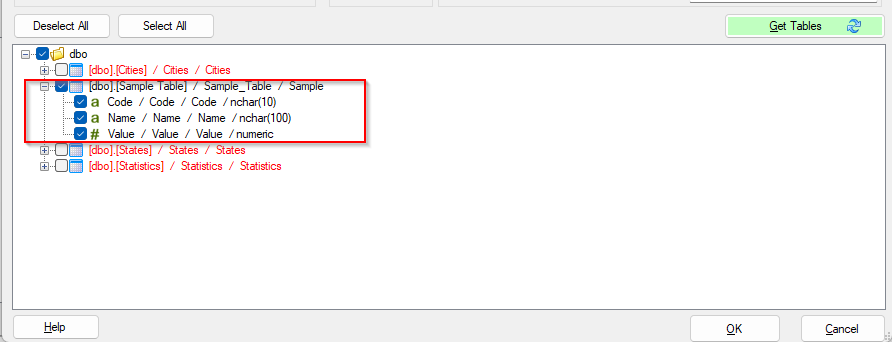
The list of tables is displayed and the tables and fields which are already in the Master Product are shown in red.
Then only the tables not existed in the Master Product are displayed in black.
Make sure the tables in black is chosen and click OK to import them.
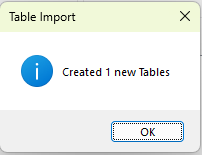
This is the message the import process has been completed. Click OK to close it.
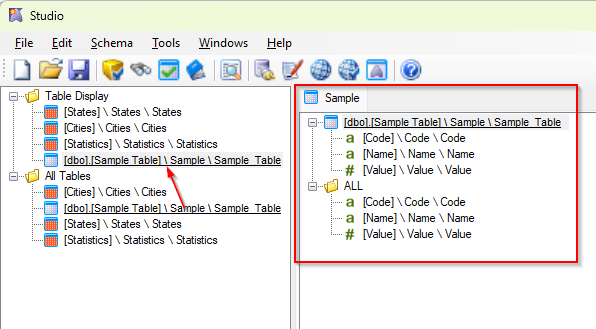
The schema information for table added to the database was loaded into the Extension Datamodel like this.
Objects belonging to the Extension Datamodel appear underlined in Studio.
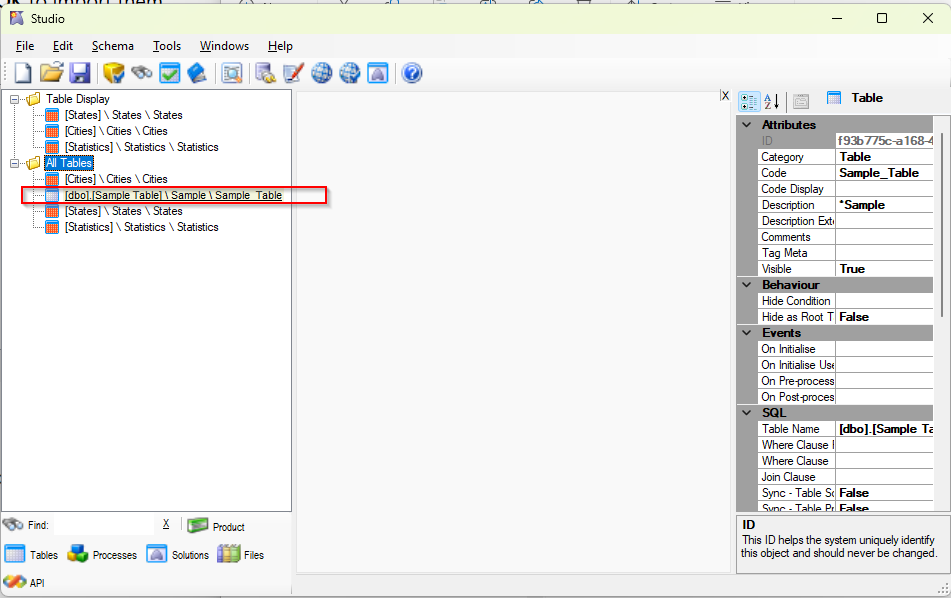
Add the extension table to “Table Display” folder to show it in the Query Builder.
We can also see the fields were also imported well.
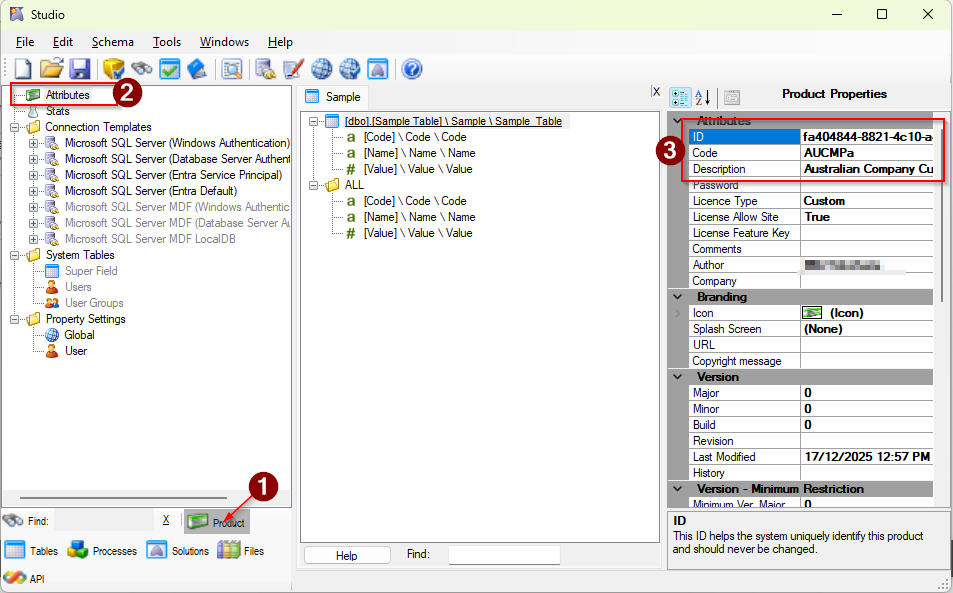
Select 1. “Product” tab, 2. “Attribute” and check 3. the product code and its description are the one you entered earlier.
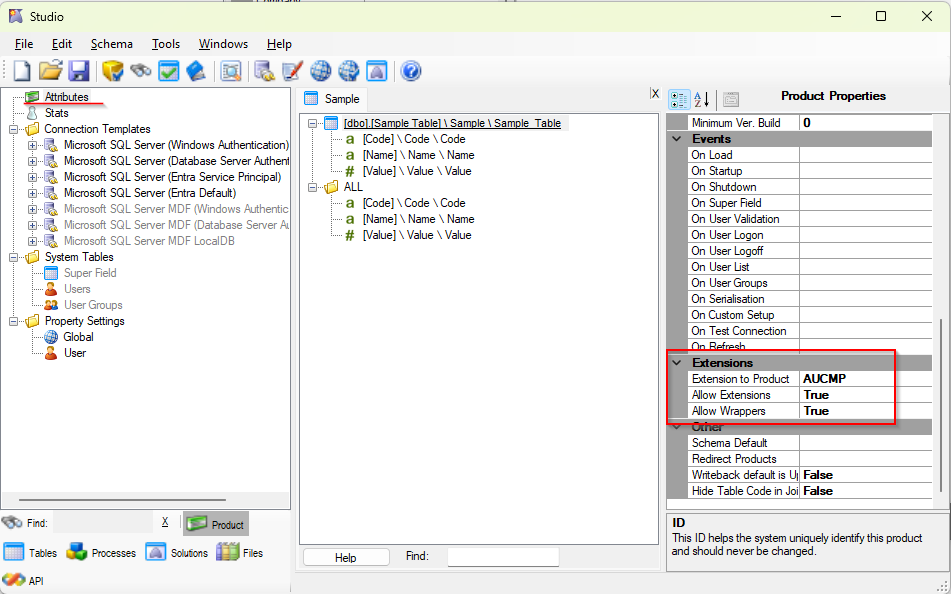
Also check the attribute which says this is the Extension Datamodel of the Master product “AUCMP“.
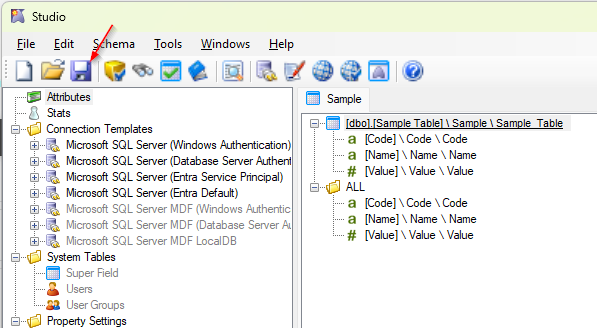
Now, it is the time to finalize this process. Click the save icon to save the Extension Datamodel.
Click OK to proceed.
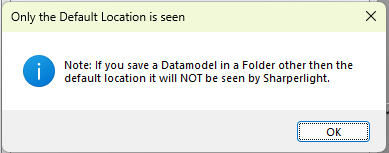
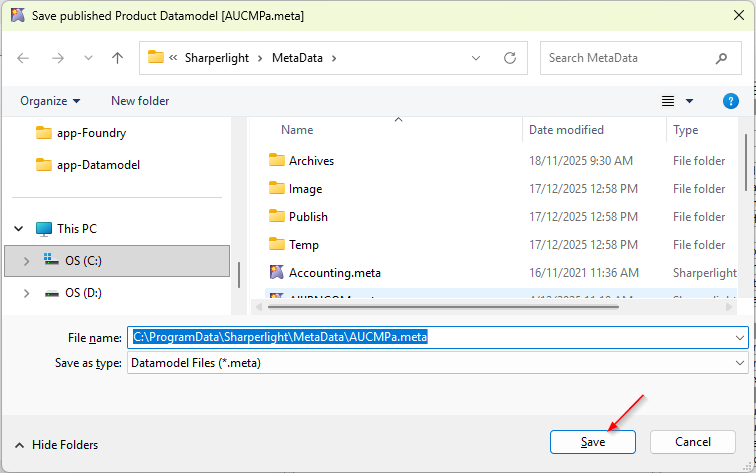
It will be saved to the folder where the Master Datamodel is. Click Save to save it.
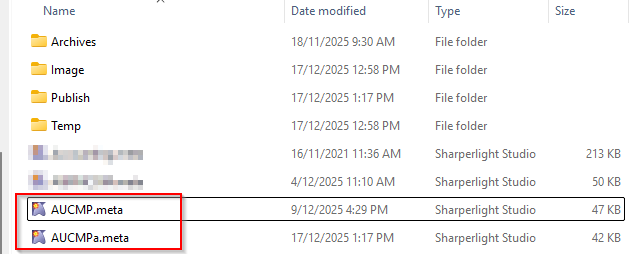
The Master and the Extension Datamodels are now placed like this.
Compiling the Datamodels
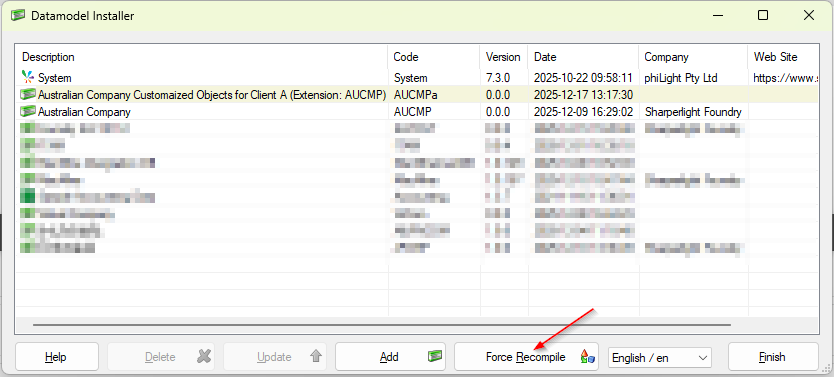
Open Datamodel Installer from the Sharperlight application menu.
Then click Force Compile to compile them and merge the definition of the Master datamodel and the Extension datamodel.
The use of the Extension Datamodel
Open Query Builder from the Sharperlight application menu.
Open the Product lookup dialog, only the Master Product can be seen.
This means the Master and the Extension are merged.
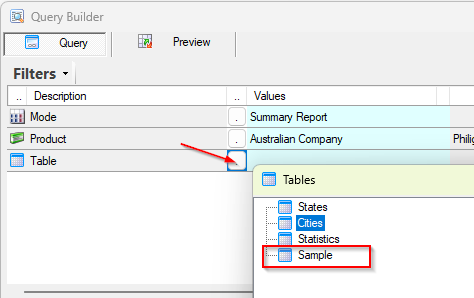
Choose the Master, and open the Table lookup dialog. the table defined in the Extension Datamodel can be seen in the list.
Afterword
Although this guide focuses on tables, the same principle applies to fields: customized fields from the Extension Datamodel will appear underlined in the table definitions that come from the Master Datamodel.