
Page Designer – Header and Footer
Introduction
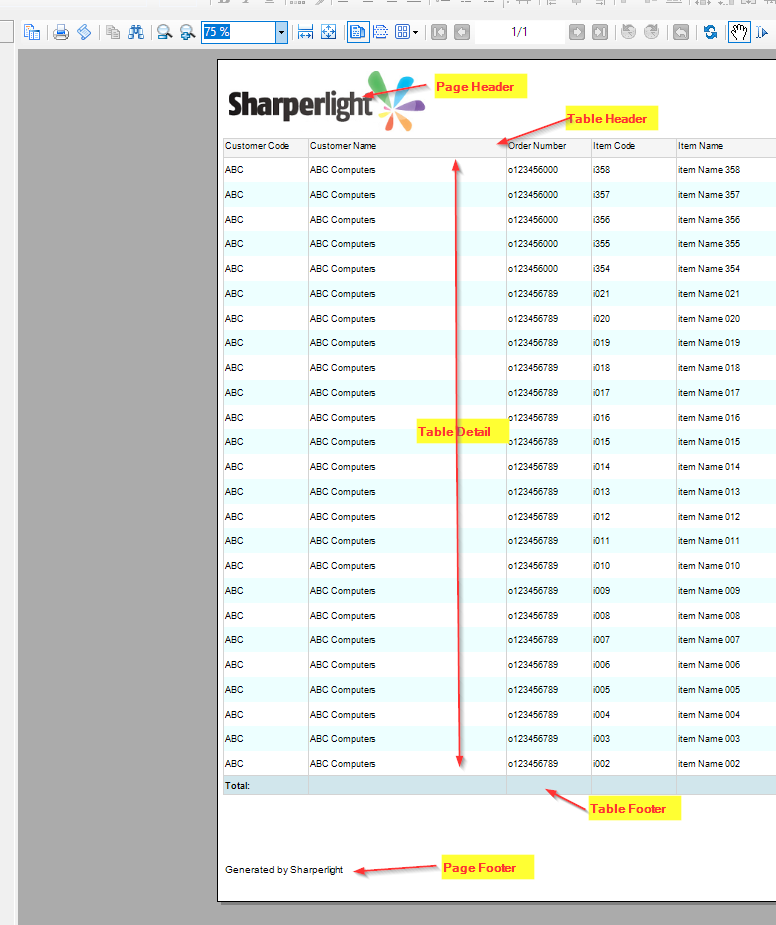
In this post, the Page Header, Page Footer, and the Table Header, Detail, and Footer are explained.
Practices
Please read the post: Page Designer – Query and Table first to know about the link between the page definition and the main query.
Table Header, Details and Footer
The page designer initially displays a table with its default configuration, and it displays the dataset returned by the main query of the published report.
The table is basically conducted with Table Header row, Table Details row and Table Footer row.
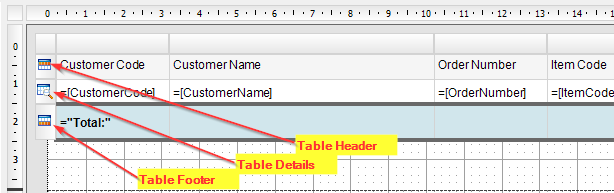
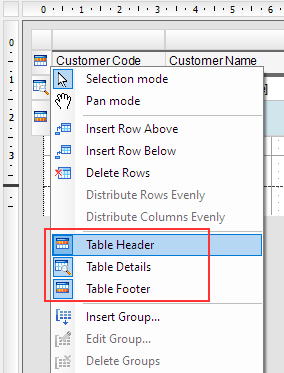
The table header is defined using the output descriptions of the main query, each cell in the table details corresponds to an output of the main query and the table footer represents the total row of the main query, if it is present.
This can be switched ON or OFF using the right-click menu, which is accessible when one of the rows is selected.
Page Header and Footer
The header and footer are defined for the page, allowing elements such as the company logo and document title to be displayed in the header. Similarly, information like copyright details, author names, and more can be shown in the footer.
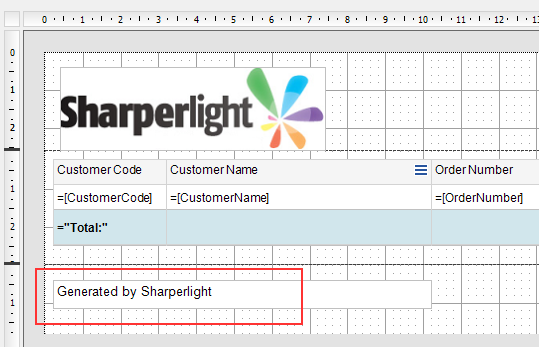
Let’s add a logo to the header.
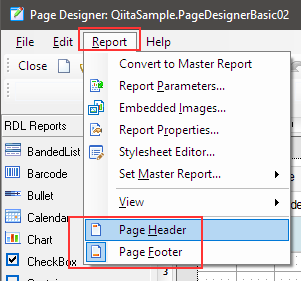
By default, the page header may not be displayed. To add it, use the ‘Report‘ dropdown menu.
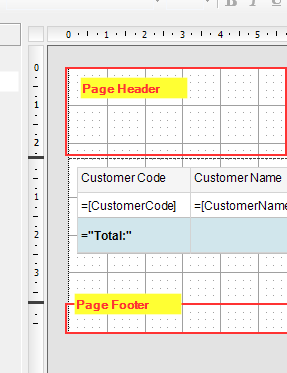
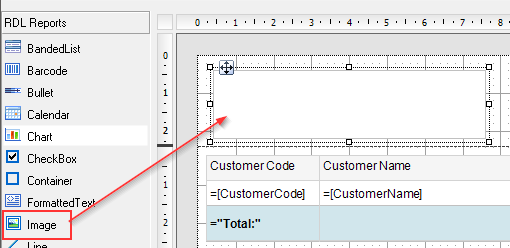
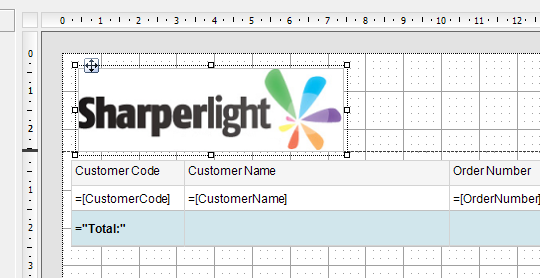
Add an Image element into the page header.
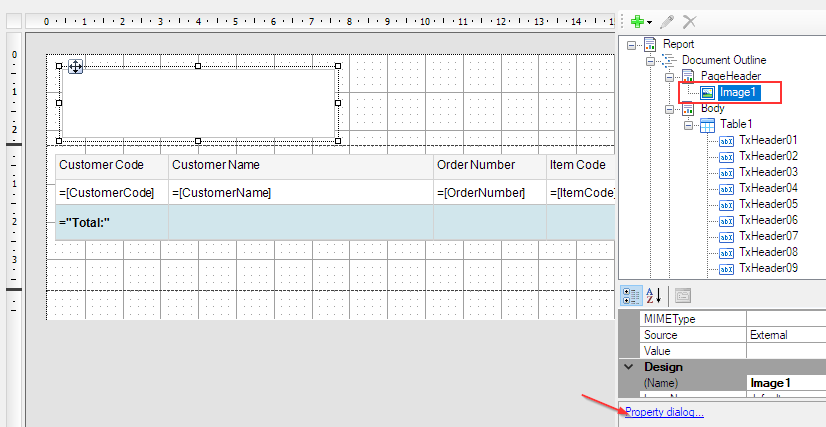
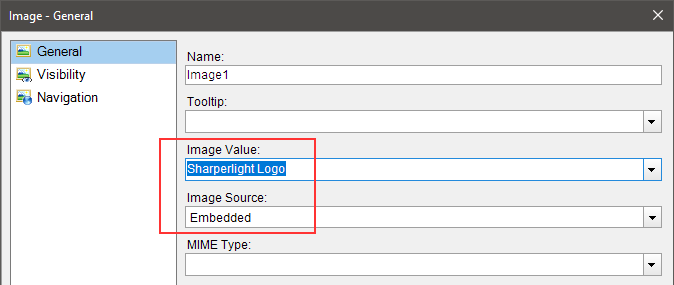
Open the image property first.
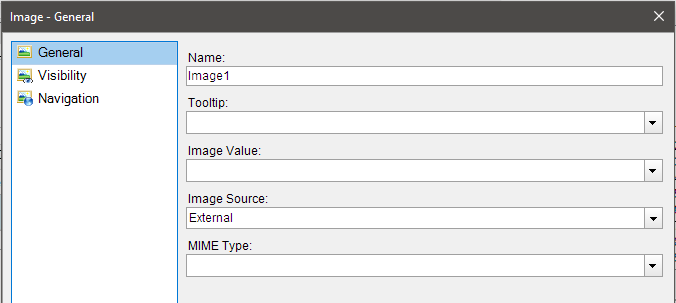
Choose ‘Embedded‘ for the ‘Image Source‘ property.
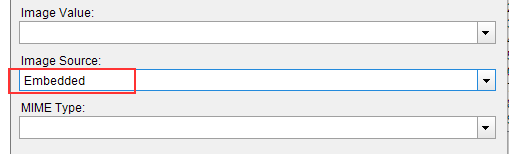
In the ‘Image Value‘ property, specify the image imported to the report (See the post: Page Designer – Images).
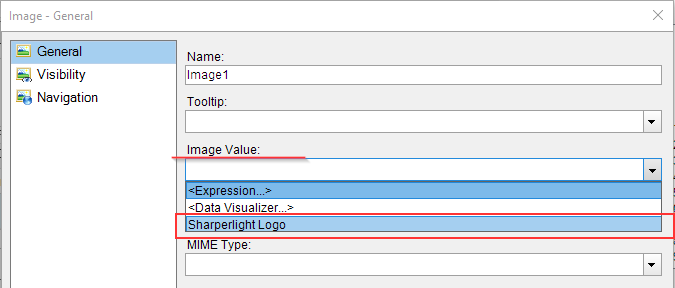
Click ‘OK’ to save it.
The image you selected is now visible in the image element.
Add a textbox element to the page footer.
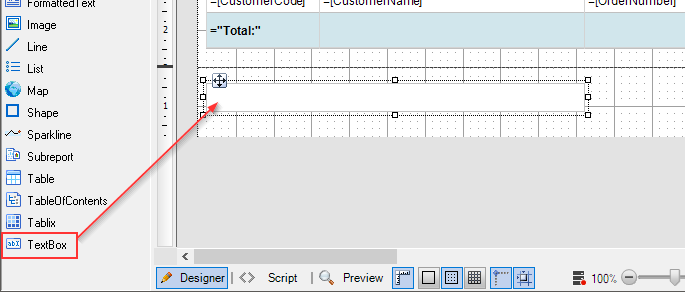
Enter the text ‘Generated by Sharperlight‘ into the text element.
Let’s preview the report.
Afterword
We hope this post has helped clarify the roles of the Page Header, Page Footer, and the Table Header, Detail, and Footer in the Page Designer.
Download the published report with the page design.