
Materialised Query Basics
Introduction
Materialised Query is one of Sharperlight applications and it create databases in the Microsoft SQL database server where Sharperlight System database is in.
Materialized Query provides a variety of functionalities to help us design the database, tables, and even datasets.
The databases being created can be used as data warehouses or staging databases, and Sharperlight can easily access them using the connection details defined for the Sharperlight system database as they are in the same SQL database server.
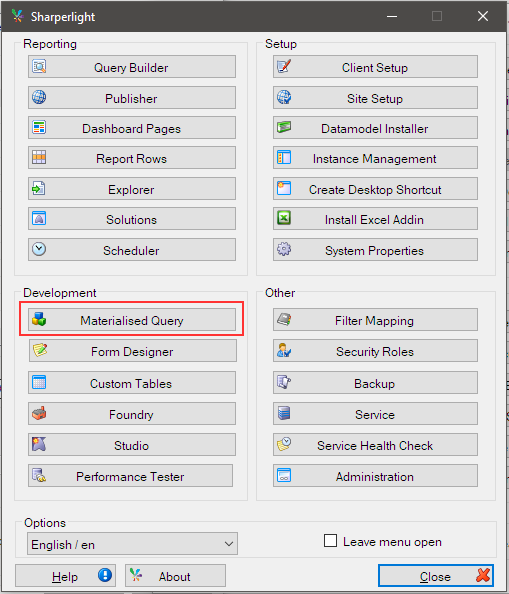
Let’s start using Materialised Query. Please go for Sharperlight Application menu and select Materialised Query.
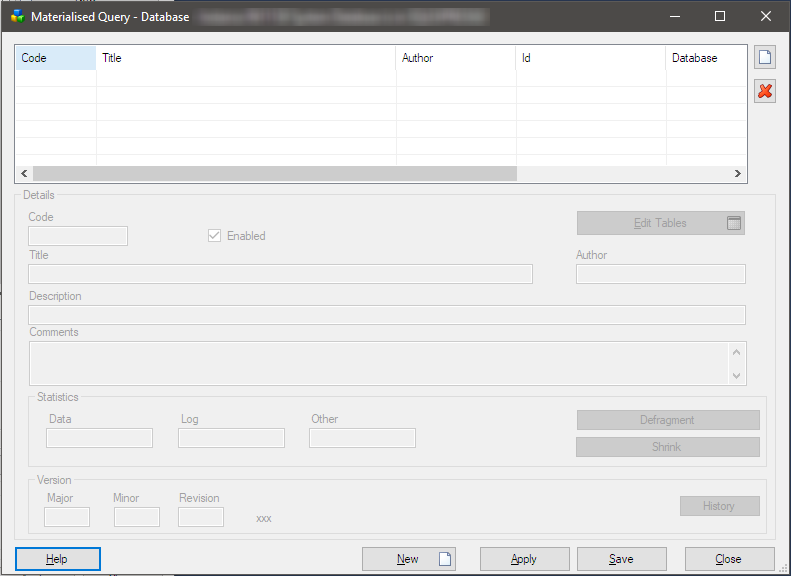
Database
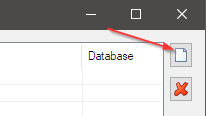
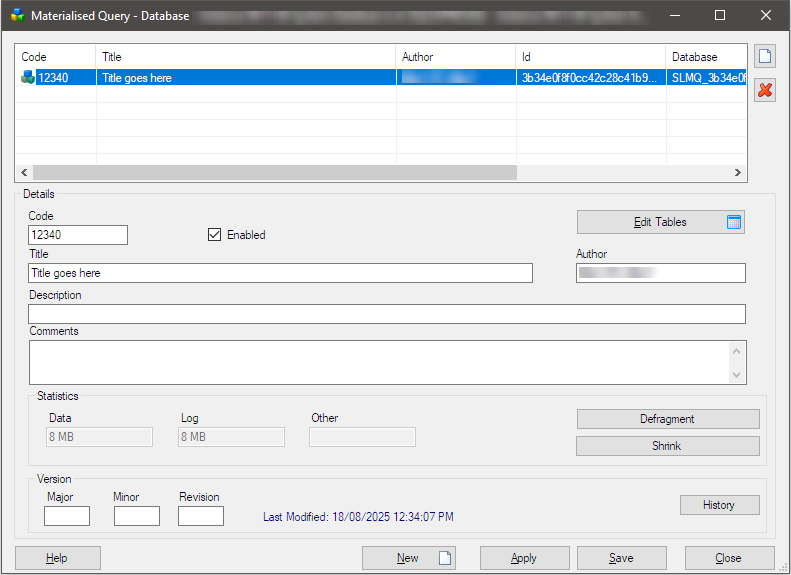
Start by creating a database with the New icon.
Click Yes to this prompt.
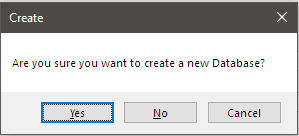
A database is created as soon as Yes is clicked.
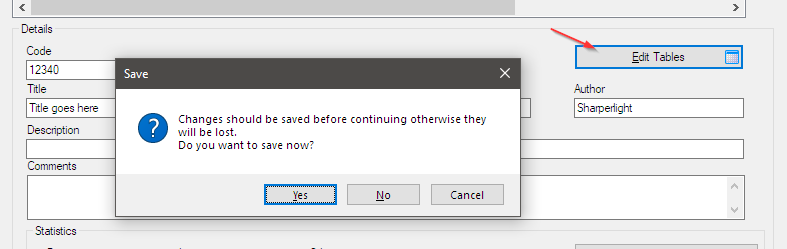
Click “Edit Tables” button will display this prompt so please click Yes to save and proceed.
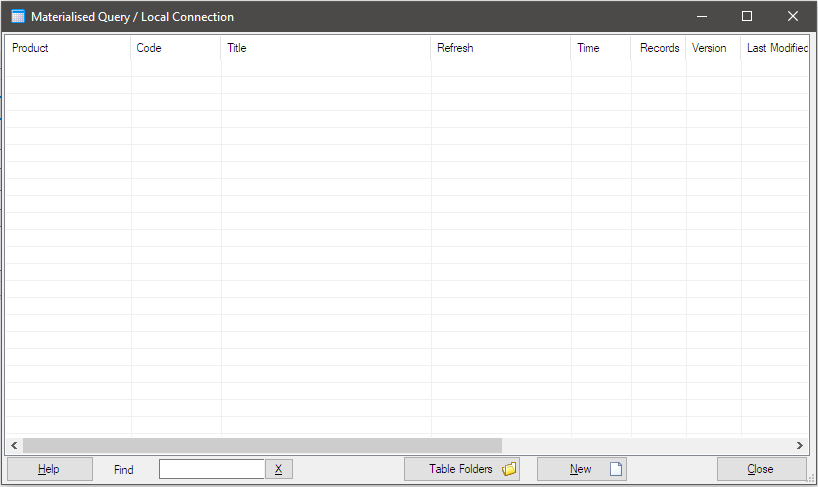
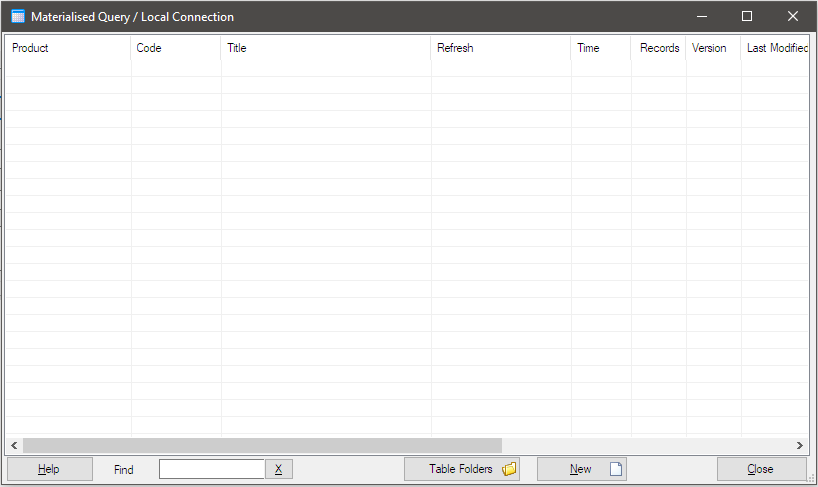
The grid is displayed to show the list of tables. There is no tables defined yet so it shows nothing currently.
By this point, a new Materialised Query database should be created in the database server so let’s check it.
The Materialised Query database should be created in the Microsoft SQL database server where the Sharperlight system database is in.
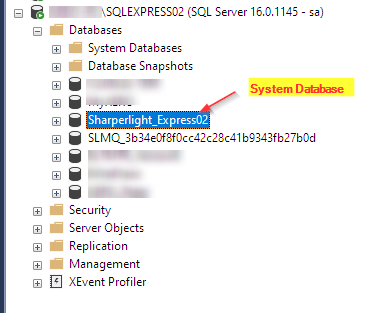
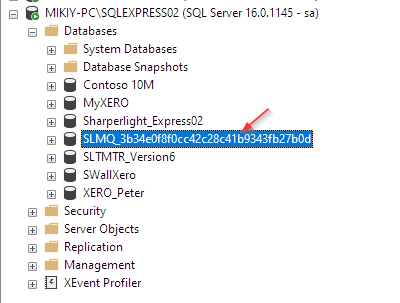
Then the newly created Materialised Query database is here.
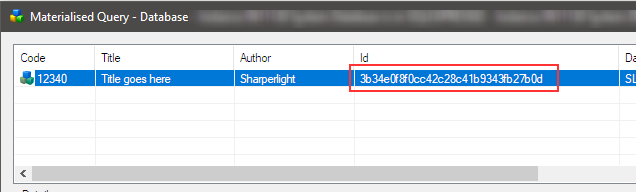
The name has the prefix “SLMQ_” followed by the GUID.
Table
Click New button at the bottom to start creating a table.
Click OK button to proceed.
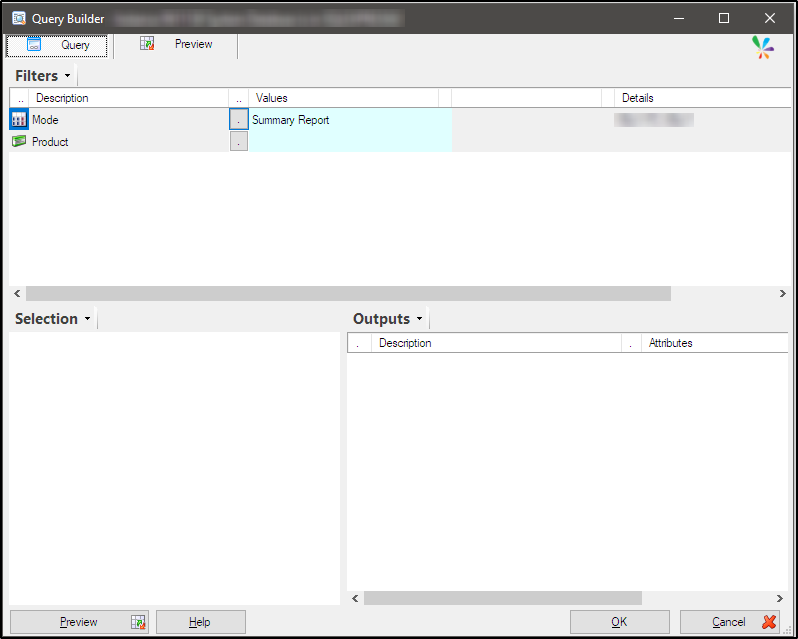
Query Builder is displayed and the table can be designed by defining a query.
This table will be refreshed with the dataset returned by the query defined here whenever a refresh is triggered.
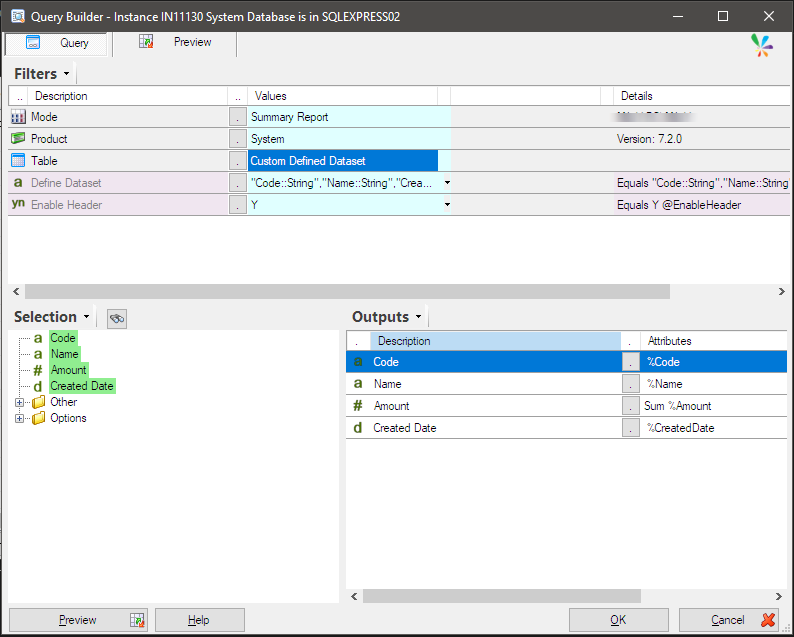
I designed a sample query like this.
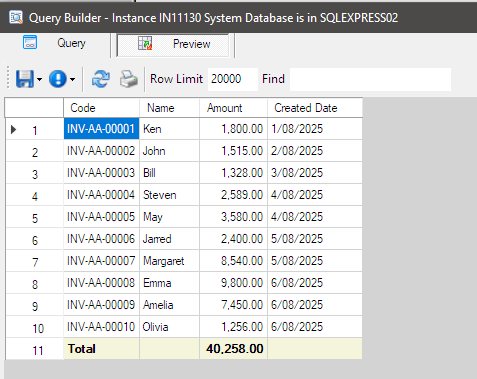
The returned dataset is like this. Click OK to save the query.
Click OK to proceed.
Click Yes to proceed.
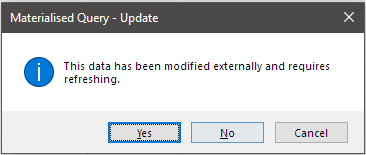
The table is created.

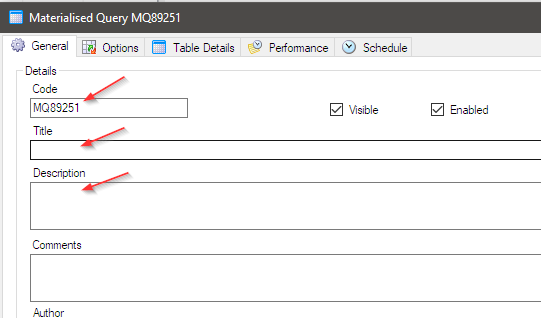
Double-click the table in the list to open the definition dialog.
In the “General” tab, update the Code and type Title and Description.
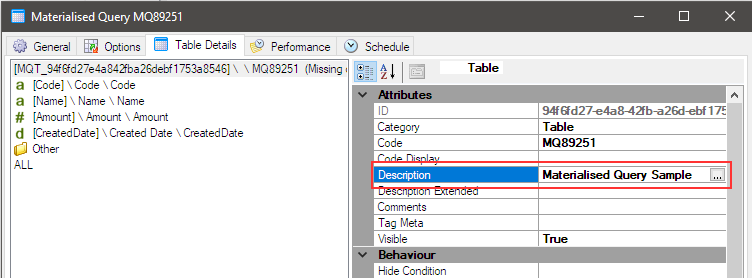
Give its Description to the table in the “Table Details” tab.
Click OK to save the table.

Up to this point, a Materialized Query database and a table have been created.
Let’s check the table in the database. We can now see the table here.
The name has the prefix “MQT_” followed by the GUID.
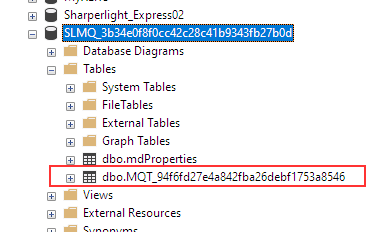
The table has also the data populated by the query defined.
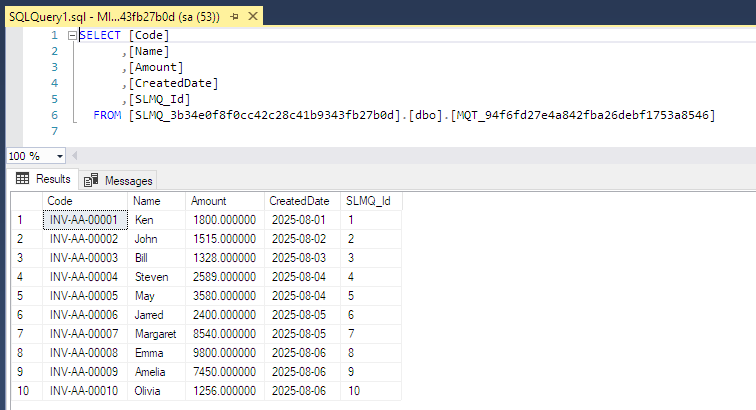
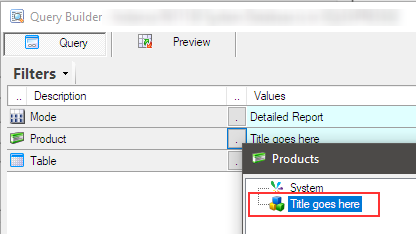
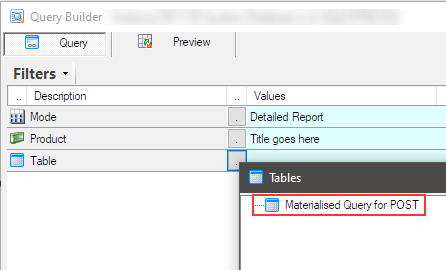
Now you can see the Materialised Database and Table from the query builder. (The database name is the default name so it is a bit strange)
Note
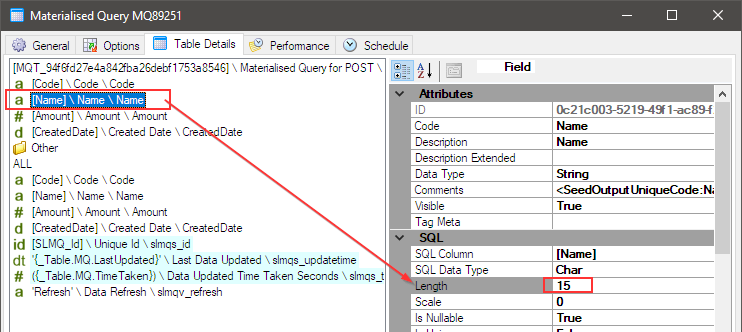
The field type and its length are auto calculated with the query definition and the returned data.
The length is actually the maximum length of the value returned for each column.
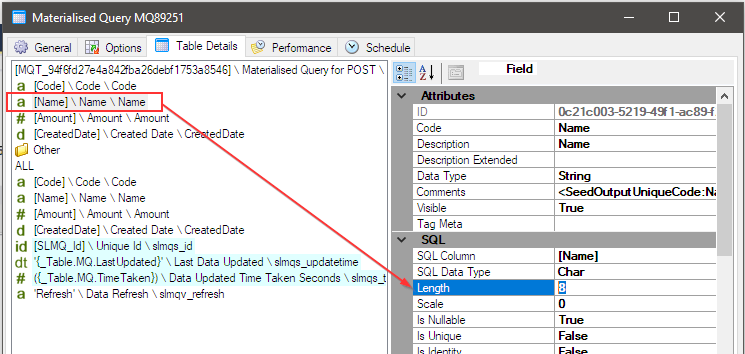
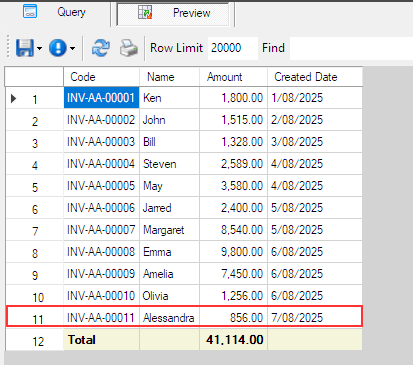
If the query returns this new record, the Materialised Query table is refreshed with the new dataset, and the length of the “Name” column gets increased with the maximum length of the value.
Afterword
This is the basic structure of how a materialized query database and table are designed and more advanced options are explained with the other posts.