
Branding & Styling – User Logon Screen
Introduction
This is a shortened version of the post “Branding with Custom Headers, Styling and Images”. It focuses only on how to brand the logon screen.
Practices
It is quite simple and you need prepare just four resource files.
- UserLogonBody.html
- UserLogonHeader.html
- favicon.ico
- Header Background Image.png
Then they need to be placed in the folder “C:\ProgramData\Sharperlight\MetaData\Custom\“.
The first two HTML files need to be named precisely as displayed — that is, UserLogonBody and UserLogonHeader.
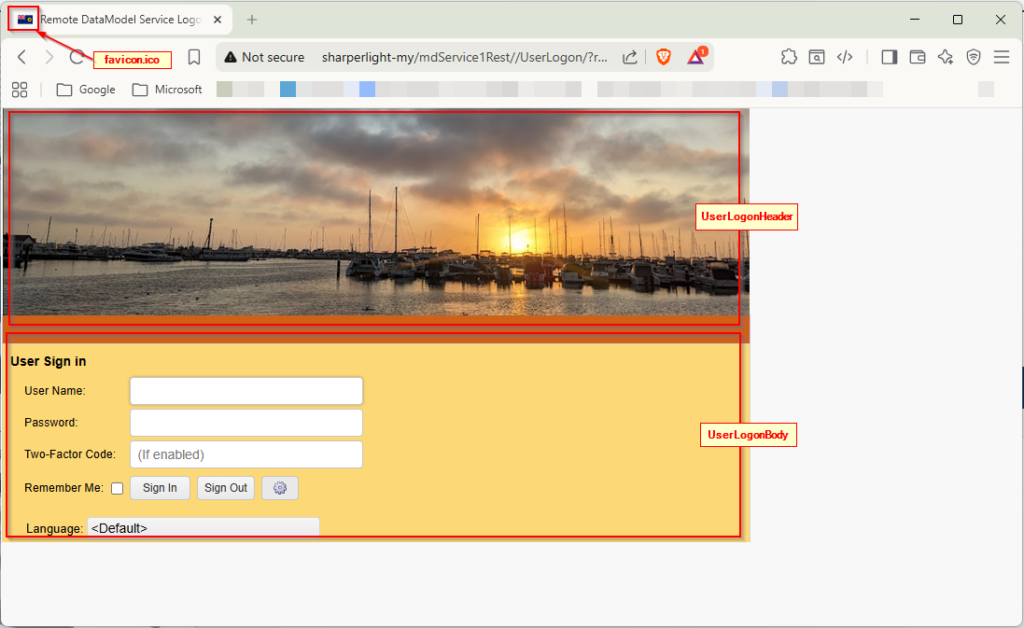
favicon.ico is a common small icon file that web browsers automatically look for and display in the browser tab (next to the page title) etc.
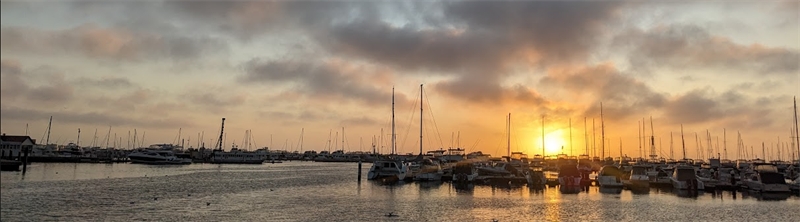
Header Background Image.png is displayed at the background of the header section of the logon screen so it is referenced from UserLogonHeader.html file.
UserLogonHeader.html
It has just a <img> element and it refers Header Background Image.png image file
<img src="File/Custom/Header Background Image.png" style="width: 800px; height: 222px" >UserLogonBody.html
<style></style> is defined in it and you can configure the background color and font color etc.
<style>
h2 {
	background-color: #CD6118;
	background-image: none;
	color: #CD6118;
	width: 790px;
	margin-top: -5px;
        margin-left: -1px;
}
#grLogon.k-widget, #grLogon.k-content {
	background: #FDD876 !important;
	width: 800px;
	color: black;
        margin-left: -1px;
        margin-top: -1px;
}
.slTitle{
	color: black !important;
}
</style>
favicon.ico
It is a small icon file.

Header Background Image.png
This is a image file and displayed at the background of the logon header so it is referenced from UserLogonHeader.html.
Afterword
Please enjoy branding your Sharperlight user logon screen in the web channel with your company logo, corporate colors, and more.
See also “Branding & Styling – Menu for the Published Reports“.