
Menu for the Published Reports
Introduction
This post shows you how to create a menu for the published reports.
Practices
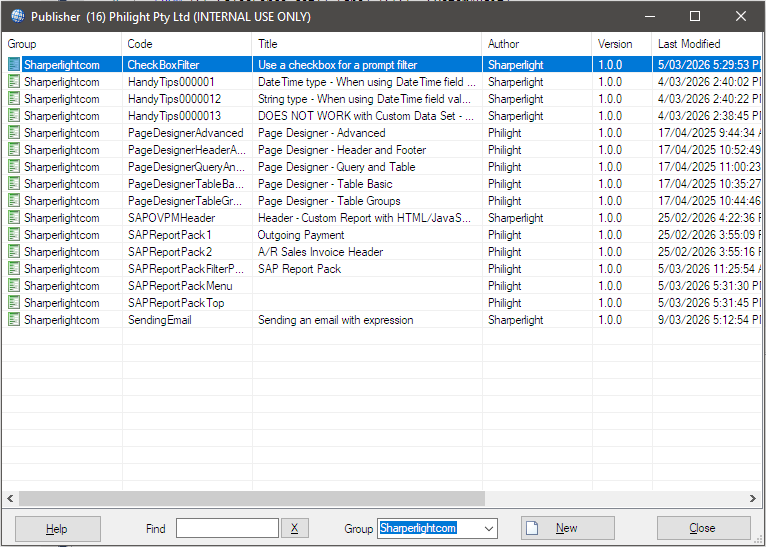
Open Sharperlight Publisher, assuming there are already some published reports defined.
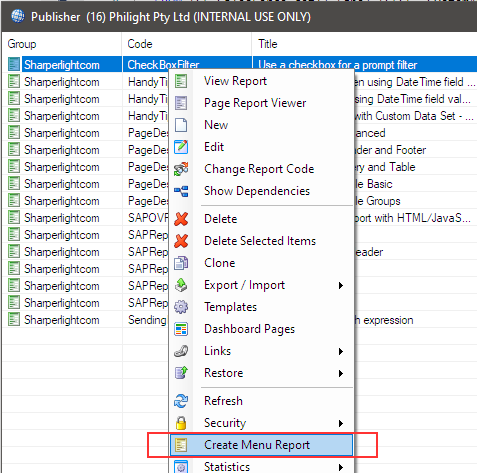
Right-click on the list to show the popup menu, and select “Create Menu Report“.
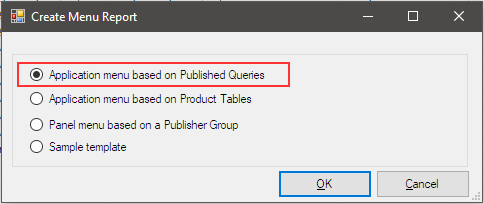
You would get this dialog so choose the first option.
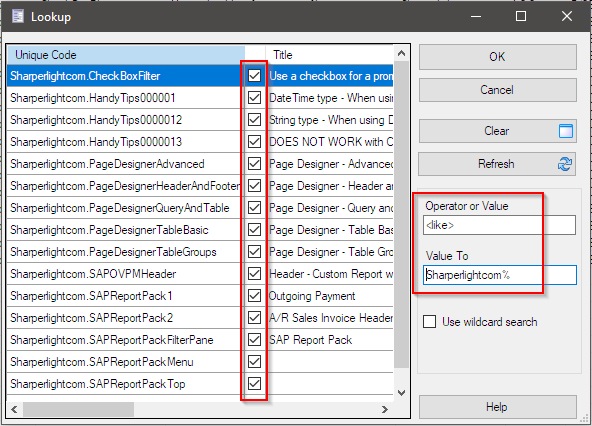
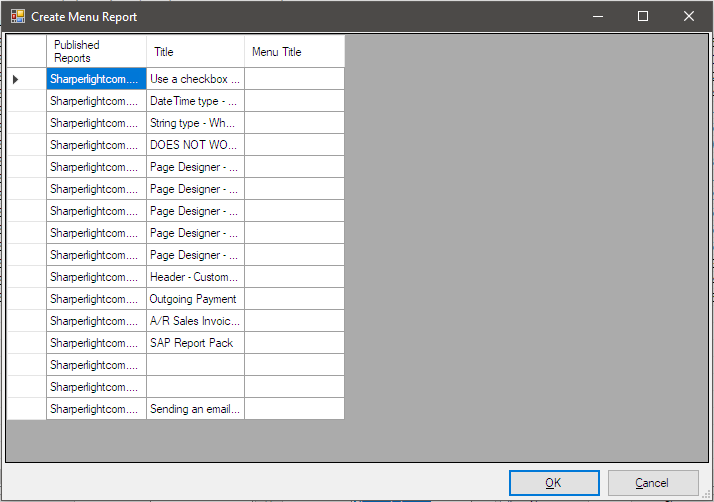
The lookup dialog would be display and it shows the list of the published reports currently defined. You can choose which reports you want to include in the menu here.
In this case, I choose all published report whose unique code starts with “Sharperlightcom”. Click OK to proceed.
The following dialog will appear; simply click OK to proceed.
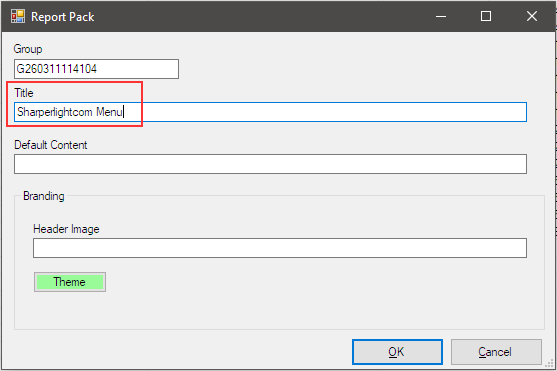
With the next dialog, you can set the Title and click OK to proceed.
The Navigation Menu Editor will then appear. Your chosen reports will be listed under the Reports node, and you will also see the Information node.
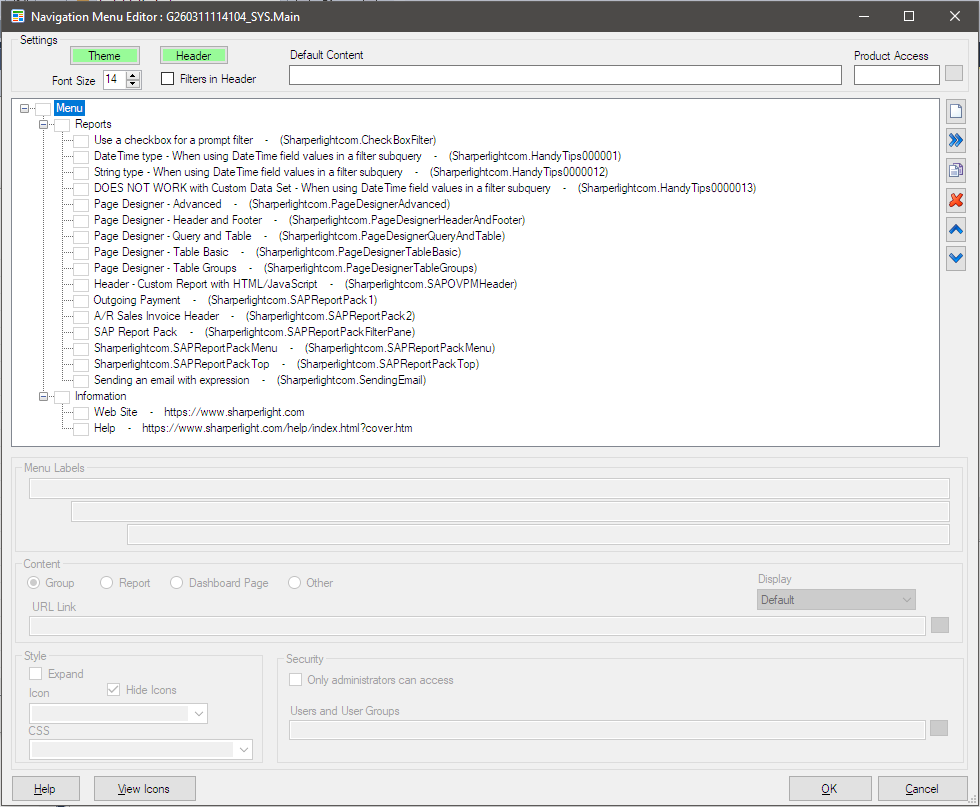
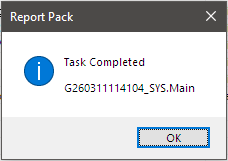
Simply click OK to finish creating the menu for now. A confirmation message will appear, and the menu will be listed in Sharperlight Publisher as a menu report.
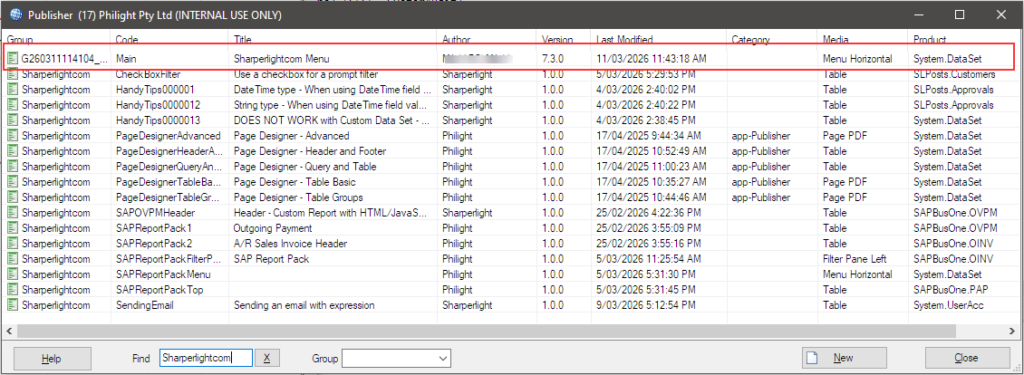
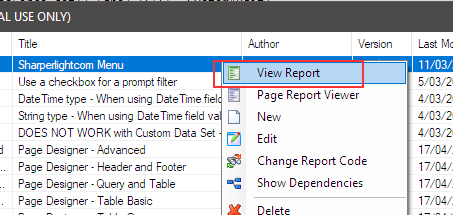
Now, let’s check it so right-click on the menu report to show the popup menu and choose “View Report“. (Sharperlight Service must be running)
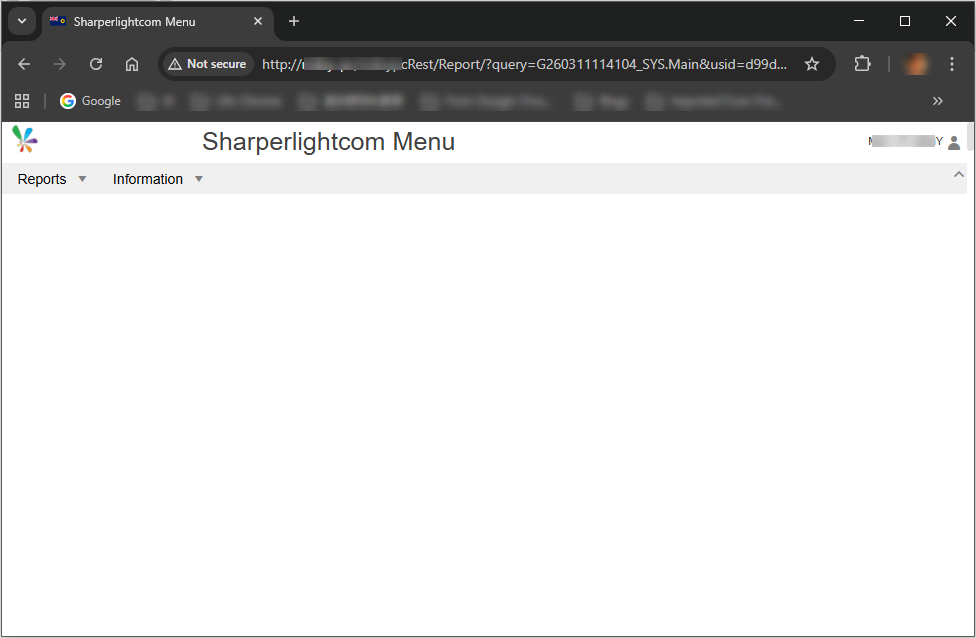
The Report Menu is displayed in your browser using the default style.
When the Reports group is expanded, you would see the list of the reports you selected.
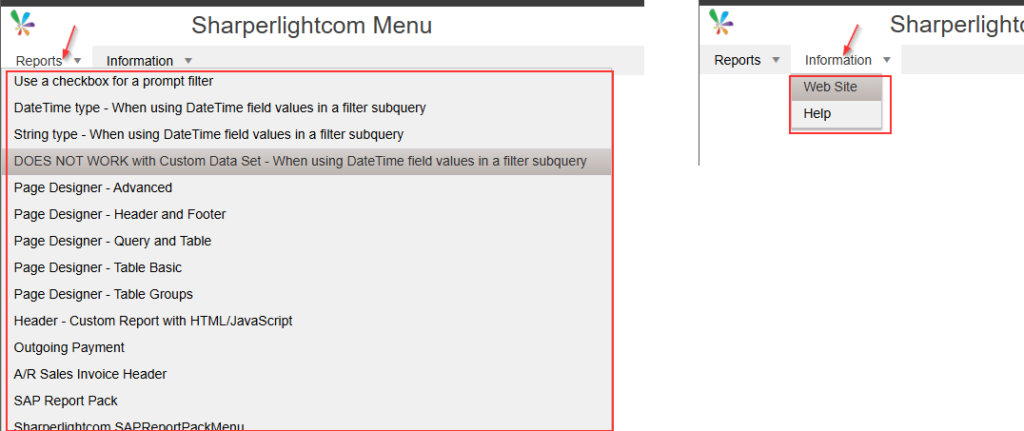
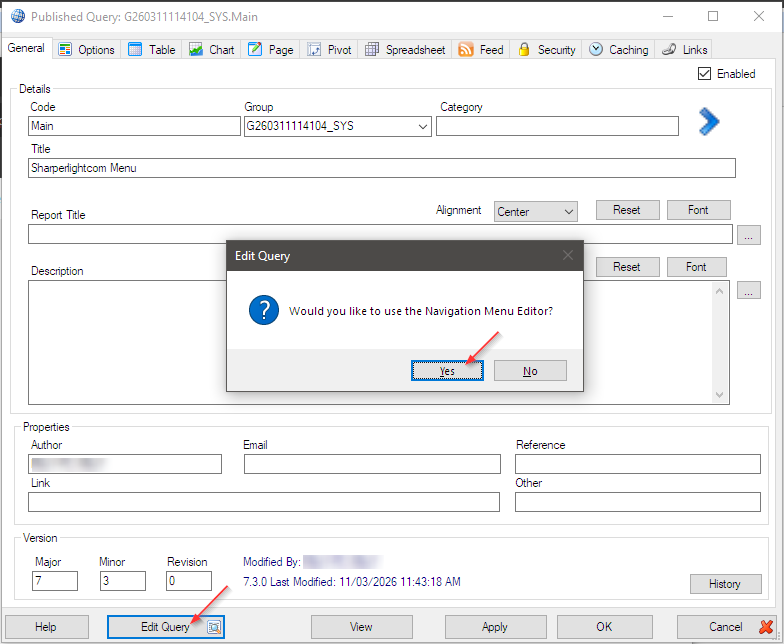
This is the default style. You can modify the menu using the Navigation Menu Editor, which is accessed by clicking the “Edit Query” button in the published report dialog.
Afterword
This is the simplest way to create a Report Menu, providing the foundation for your own custom styling.
See the post Branding & Styling – Menu for the Published Reports for customizing this standard report menu.
Other References: