
Branding & Styling – The Landing Page
Introduction
This post shows how we can add a header to a landing page for a business report pack.
Practices
We use the landing page designed in the post Landing Page – The Hierarchical Structure in this post.
Let’s add a custom header at the top of this page.
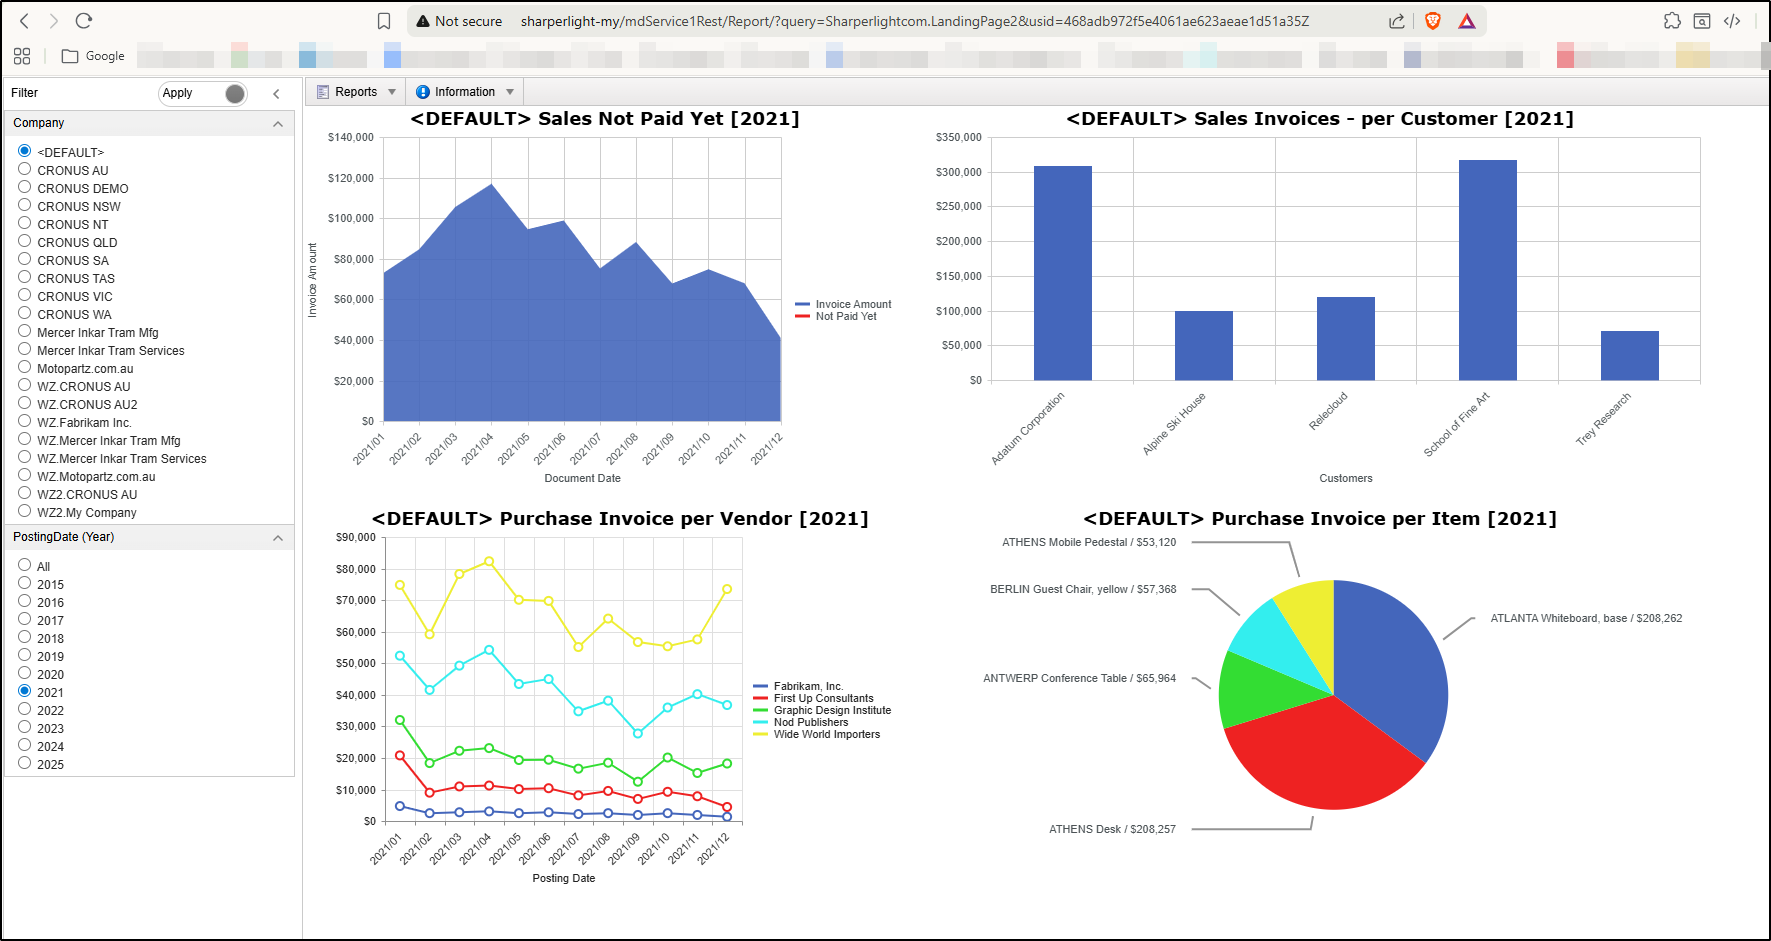
Standard Header Template
Open the landing page definition in Sharperlight Publisher to edit the configuration.
Next, enable the Header option by ticking the Custom Styles – Header checkbox on the Options tab.
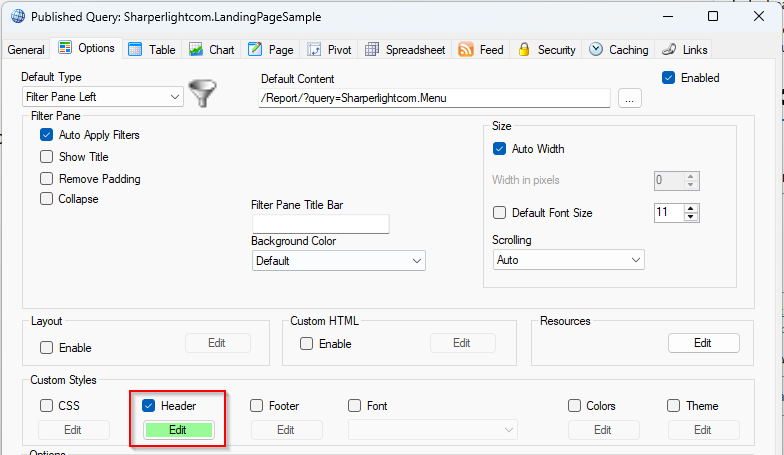
Click the Edit button to launch the Header Editor.
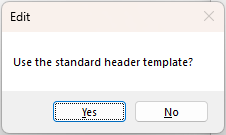
You are prompted to use the standard header template; click ‘Yes’ to apply it.
The standard template is now visible within the Header Editor for further editing.
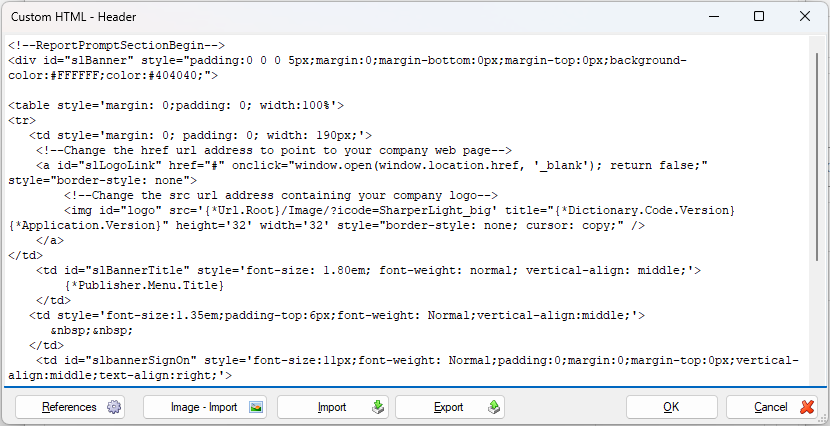
Click OK to exit the Header Editor without further changes, then click OK again to save the entire report configuration, and preview it.
The standard header is now active on the landing page, as shown in the updated layout.
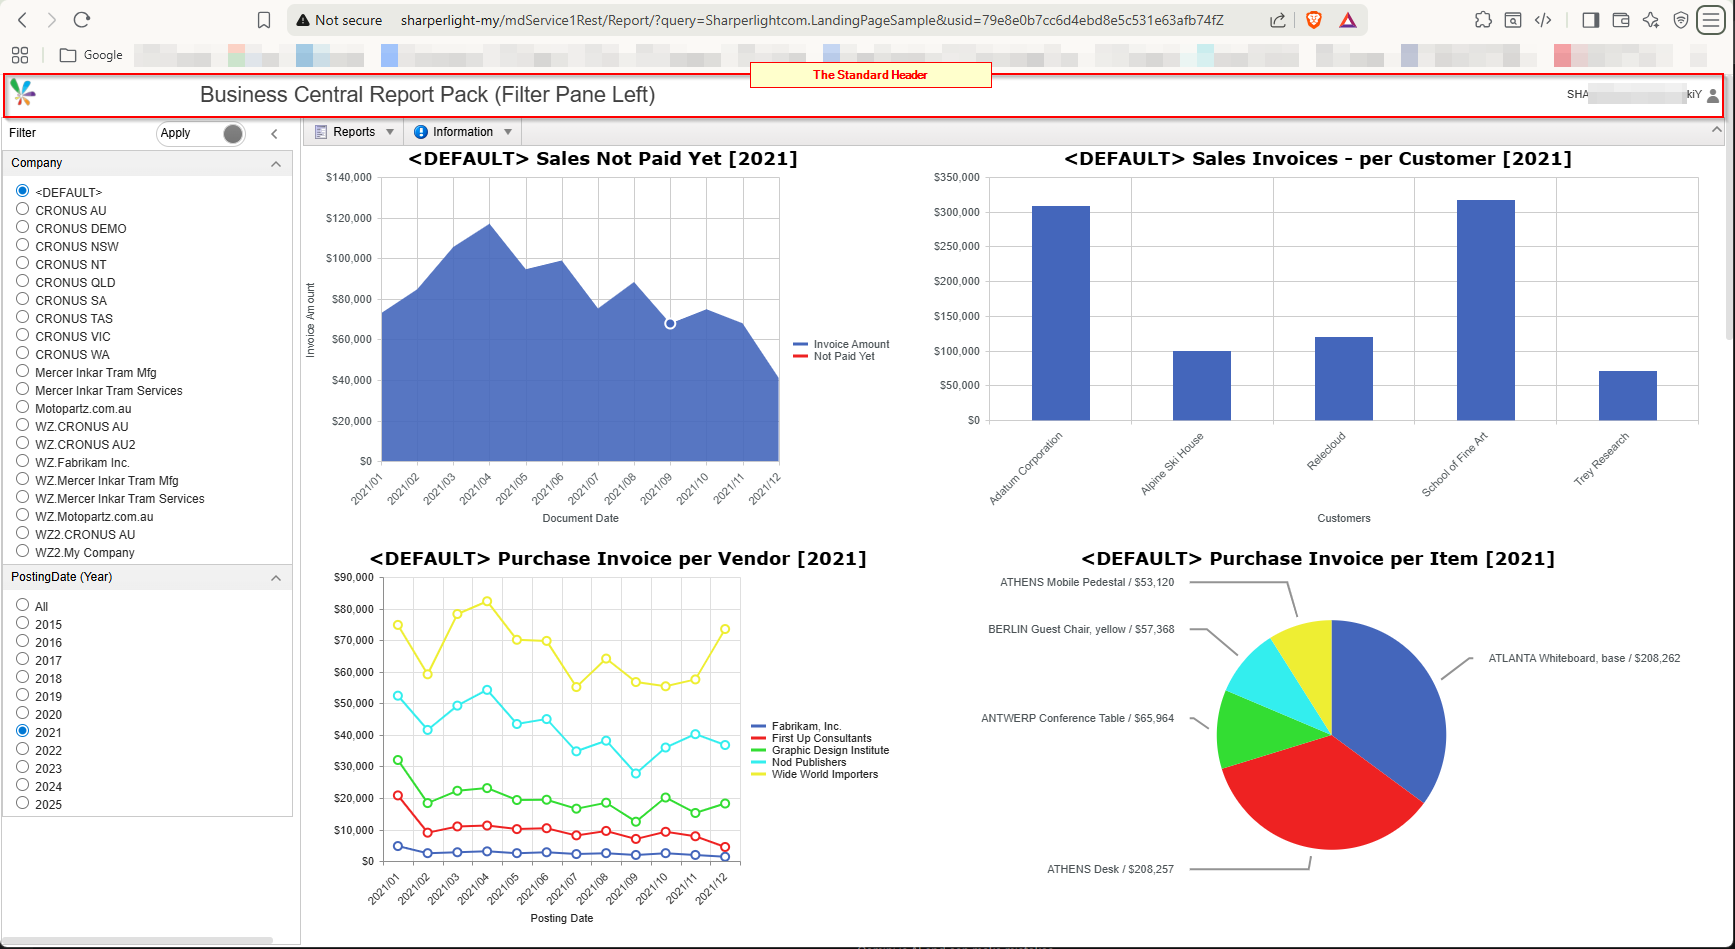
Customized Header
Let’s customize the header next.
Prerequisites
We use a background image and a logon user icon for the customized header so they need to be placed in “C:\ProgramData\Sharperlight\MetaData\Custom\” folder first.
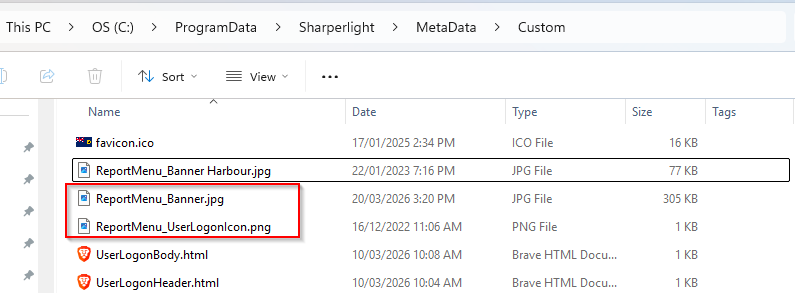
Header and CSS
Open the landing page definition again and open the Header Editor.
The HTML code must be placed in the middle of the Sharperlight Control Tag;
<!--ReportPromptSectionBegin--> and <!--ReportPromptSectionEnd-->Copy and paste the sample code shown below into the editor.
<!--ReportPromptSectionBegin-->
<div id="slBanner" style="height: 71px;padding:0 0 0 0;margin:0;margin-bottom:0px;margin-top:0px;background-color:#EFAE7C;color:#404040;">
	<div id="slBannerBody">
		<!--Change the href url address to point to your company web page-->
    		<a id="slLogoLink" href="#" onclick="window.open(window.location.href, '_blank'); return false;" style="border-style: none">
        		<!--Change the src url address containing your company logo-->
        		<img id="slBannerBodyImage" src='File/Custom/ReportMenu_Banner.jpg' title="{*Dictionary.Code.Version} {*Application.Version}"/>
    		</a>
	</div>
	<div id="slBannerTitle">{*Publisher.Report.Title}</div>
	<table id="slBannerSignOut">
		<tr><td>{*User}</td></tr>
        	<tr><td>
			<a href="{*Url.Root}UserLogoff/?redirectSimple={*Url.Root}/UserLogon/?redirectSimple={*Url.Current.Report}" style='color:inherit;' target="_parent">
            			<div id="slBannerSignOutUserIconContainer" title="{*Dictionary.Code.UserSignOut}">
					<img id="slBannerSignOutUserIcon" src='File/Custom/ReportMenu_UserLogonIcon.png' />
				</div>
        		</a>
		</td></tr>
	</table>
	</div>
</div>
<!--ReportPromptSectionEnd-->
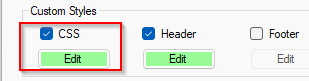
Insert the following code into the CSS editor to apply the custom styling. Note that this step is not required if you have already defined the styles directly within the header’s HTML code.
<style type="text/css">
#slBannerBody{
	margin: 0;
	padding: 0;
	width:100%;
}
#slBannerBodyImage{
	height: 70px;
	width: 2000px;
	border-style: none;
	cursor: grab;
}
#slBannerTitle{
	position: absolute;
    	left: 23px;
    	top: 5px;
    	color: #112f2c;
    	font-size: 25px;
	font-weight: bold;
	font-family: inherit;
}
#slBannerSignOut{
	position: absolute;
    	right: 17px;
    	top: 10px;
    	font-size: 11px;
    	font-weight: Bold;
    	padding: 0;
    	margin: 0;
    	margin-top: 0px;
    	vertical-align: middle;
    	text-align: center;
	color: #112f2c;
}
#slBannerSignOutUserIconContainer{
	margin-top:2px;
	margin-right:3px;
}
#slBannerSignOutUserIcon{
	width: 36px;
	height: 36px;
}
</style>
Download Sample Header and CSS files here
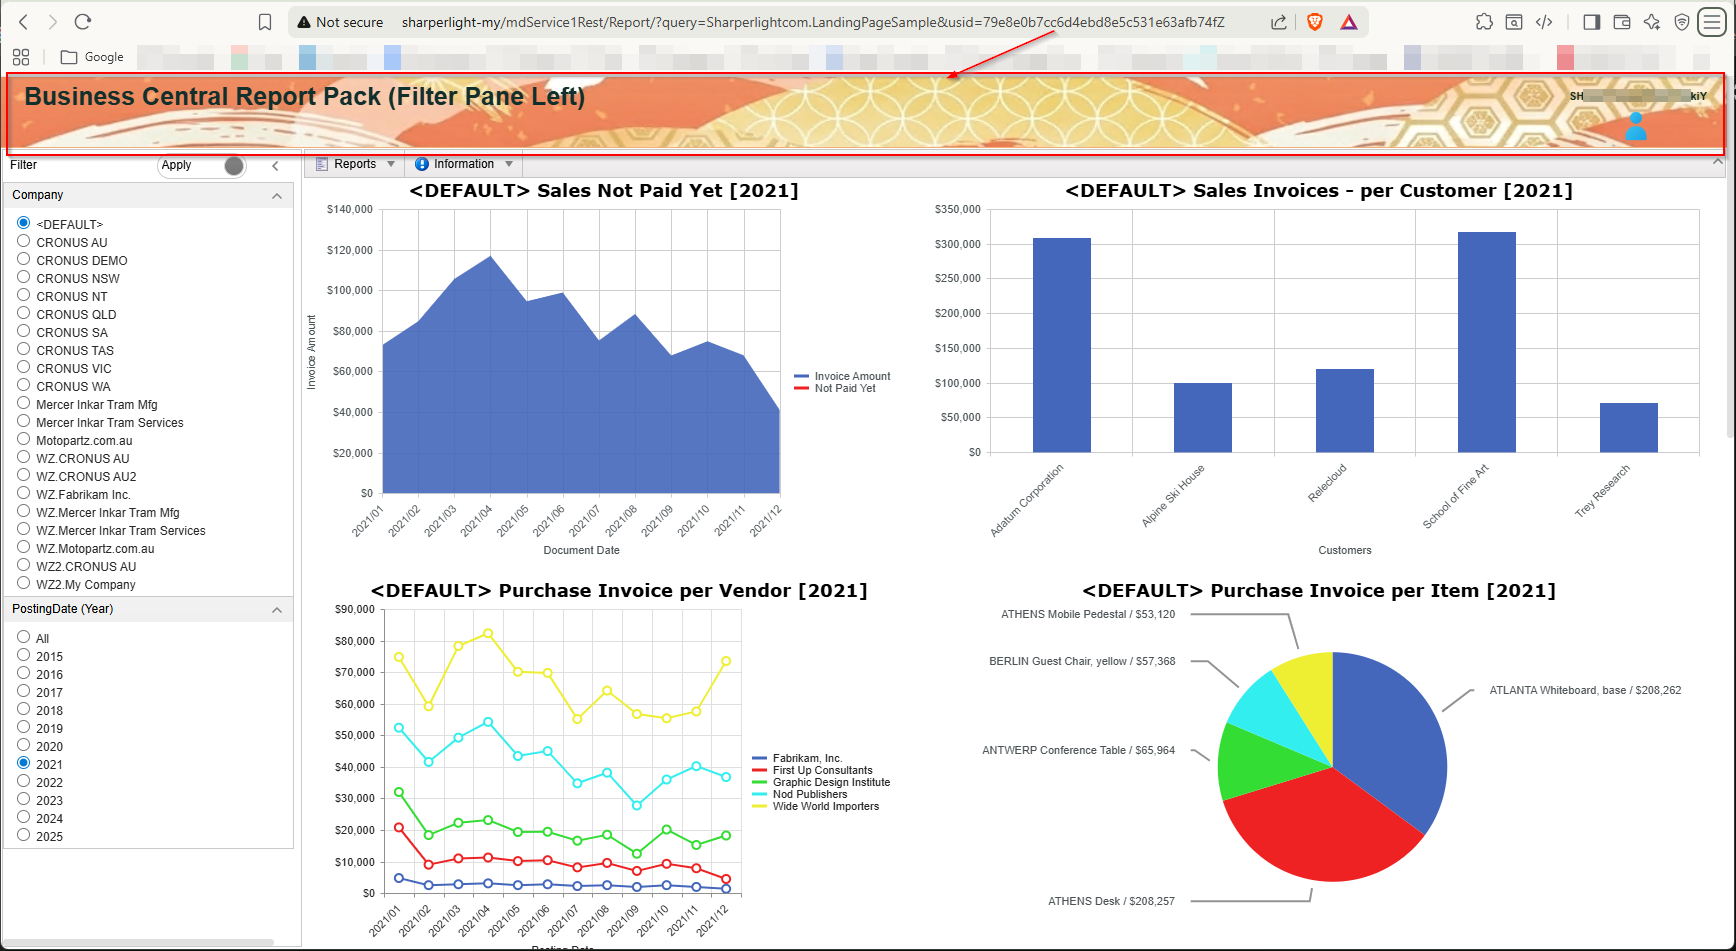
Let’s preview it. The customized header is now active on the landing page, as shown in the updated layout.
Afterword
We hope this post gives you some inspiration as you design your own landing page.
Other References: