
Customizing the Data Entry Form with Foundry
Introduction
SharperLight has a built-in standard entry form if the tables are configured as writable, and it just stacks the fields vertically.
In this post, I’ll show you how to customize the entry form to display fields in multiple columns and how to group fields together.
Practices
Tables and Headers
Let’s open Foundry from the Sharperlight application menu, and create some tables and their fields.
This time, I create two fact tables “Headers” and “Lines”, and it has one to many relationship. Then I also create some dimension tables such as “Customers”, “Employees”, “Items” and “Warehouses”, and they are referenced by the fact tables.
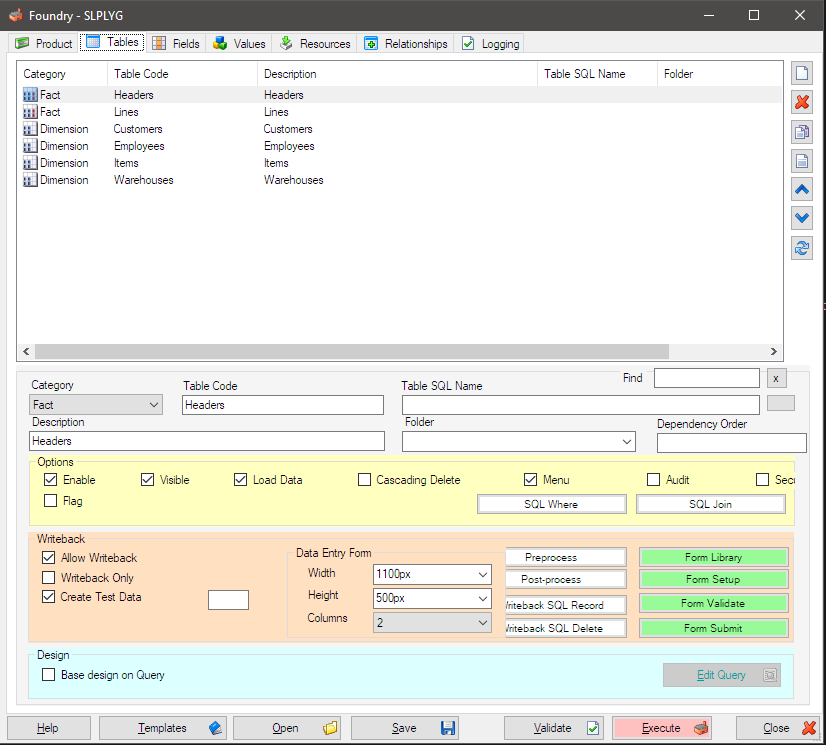
By this point, if I execute this, Foundry will create everything SharperLight needs to use.
Standard Entry Form
Let’s execute it and see the standard entry form for “Headers” table looks like.
When execution is complete, the URL for the home page generated is displayed, double-click it to display the home page in your browser.
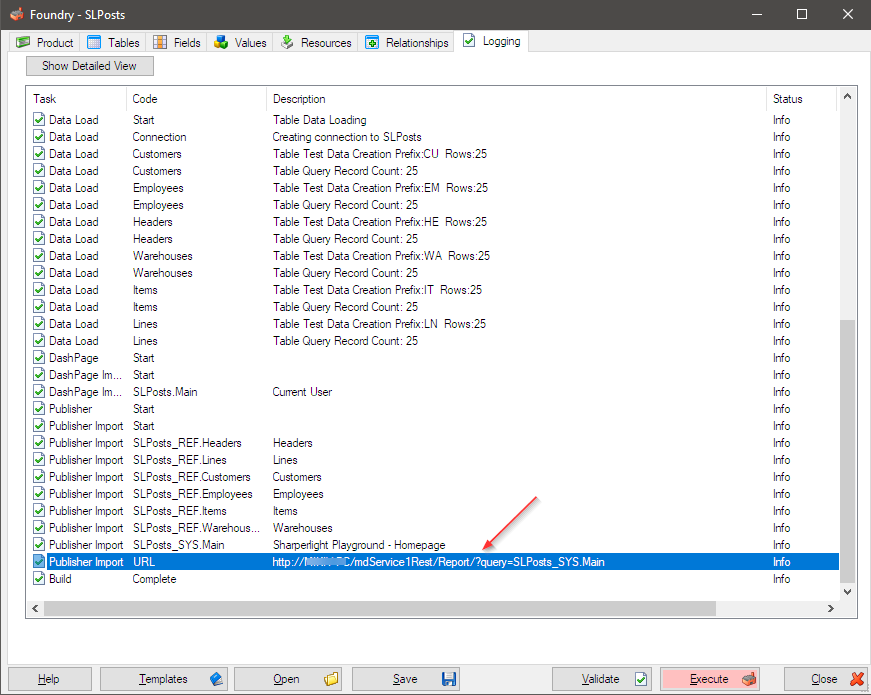
Foundry also creates test data when the ‘Create Test Data’ option is enabled.
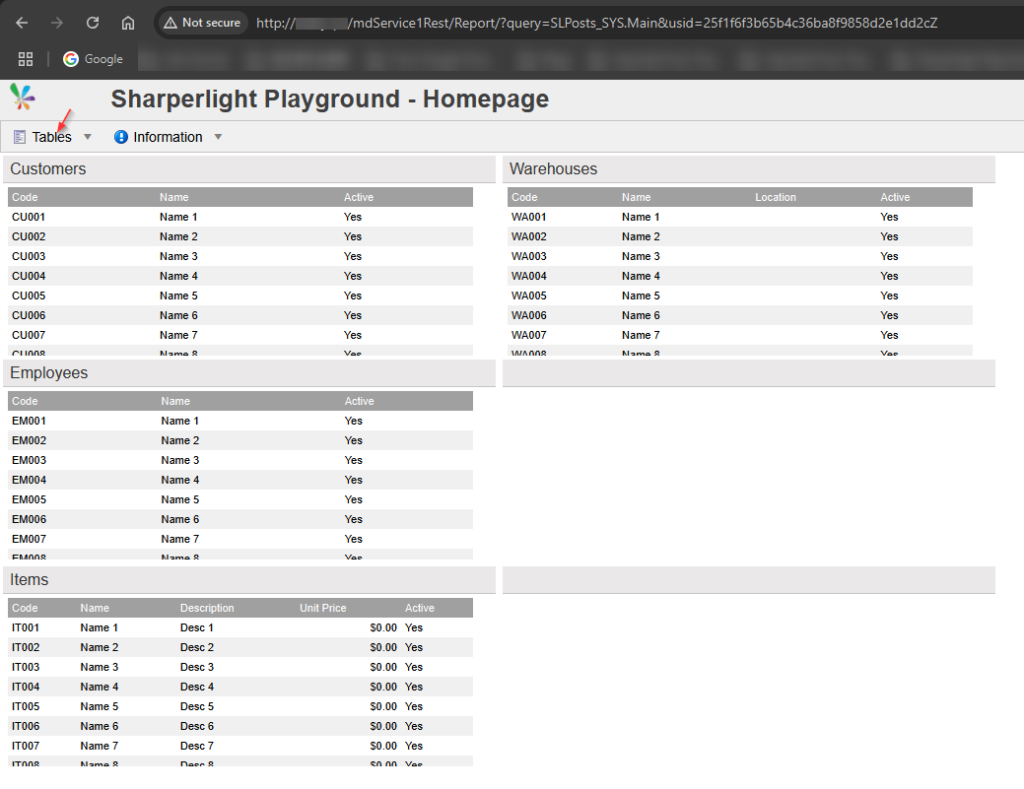
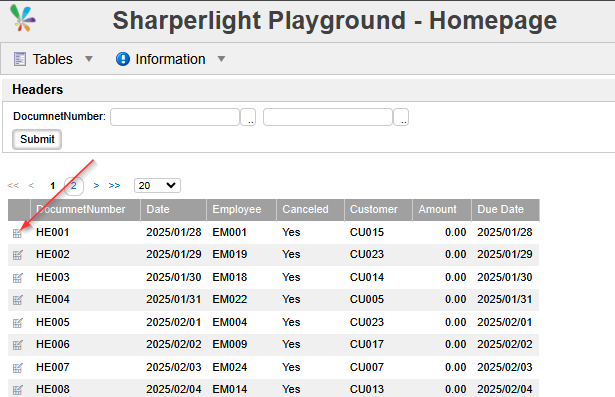
Navigate to the ‘Headers’ table using the Tables dropdown menu, and click it to view the records.
Then, click the grid icon on the left-hand side of each row.
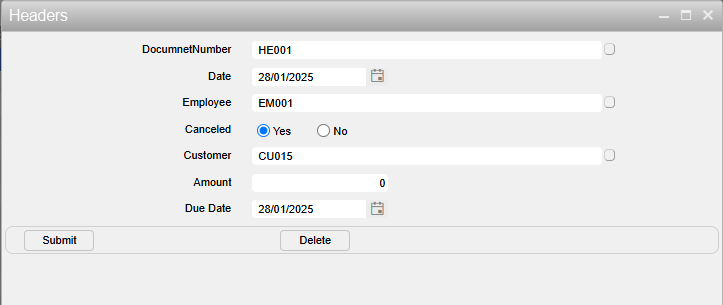
The standard entry form looks like this:
Customising the entry form
I make it display fields in two columns and also organize them into two groups.
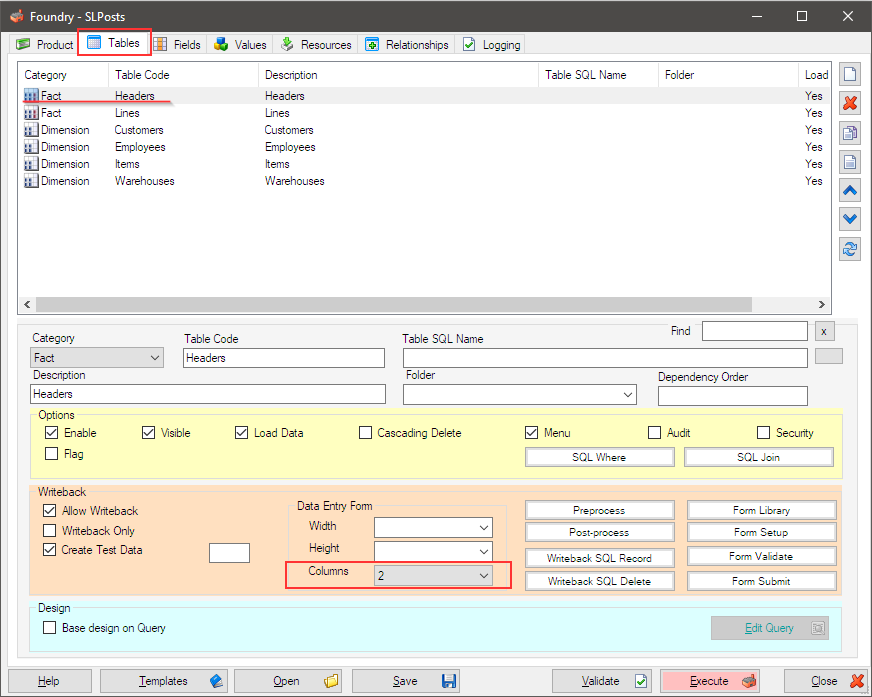
Go back to Foundry, show the ‘Header’ table definition, and set the ‘Data Entry Form – Columns’ option to 2.
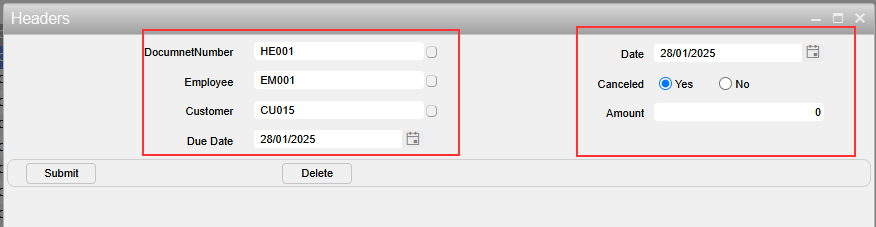
Execute it, restart the SharperLight service, and then view the entry form again.
Now, the fields are displayed in two columns.
Next, for grouping, go back to Foundry and navigate to the Fields tab for the ‘Headers’ table.
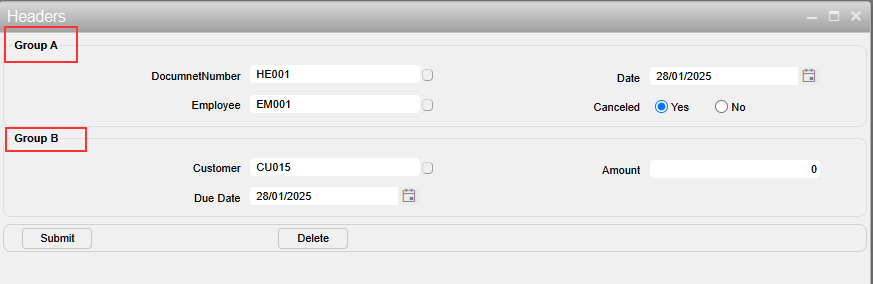
I use the group names to separate the fields into two groups – “Group A” and “Group B“.
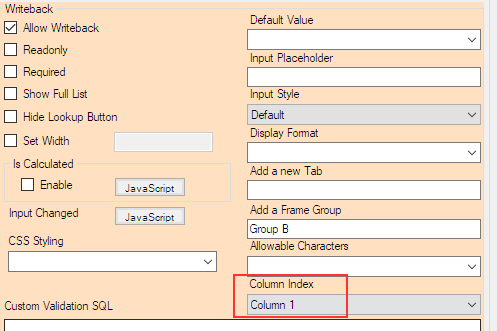
Select a field and click the ‘Advanced’ button to open the advanced options dialog.
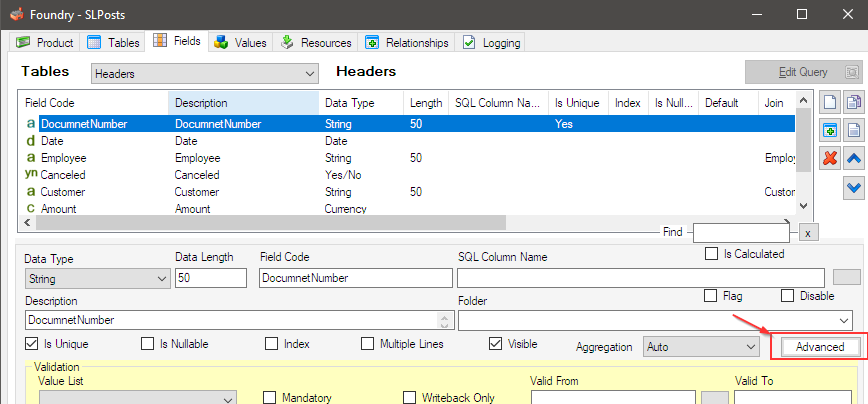
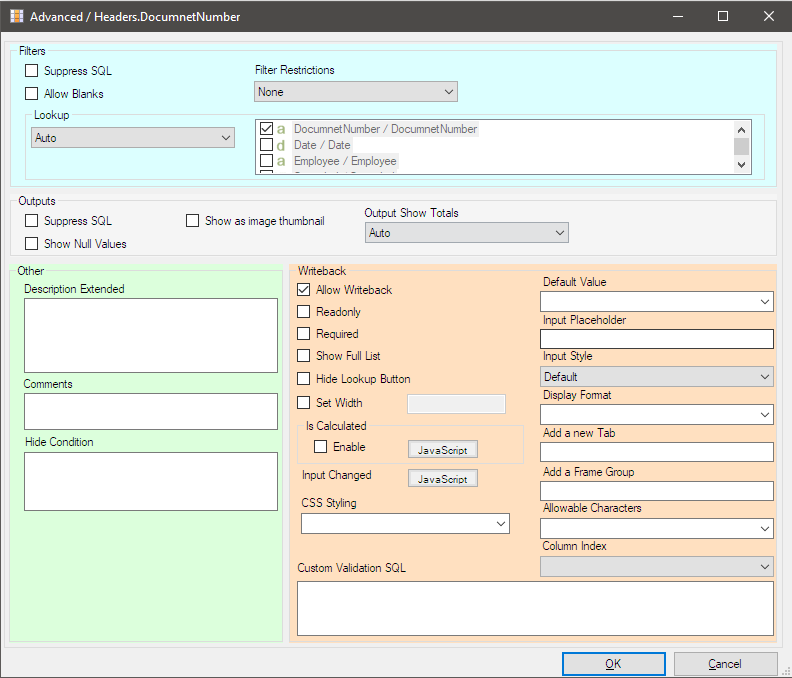
Type “Group A” to Writeback – Add a Frame Group option.
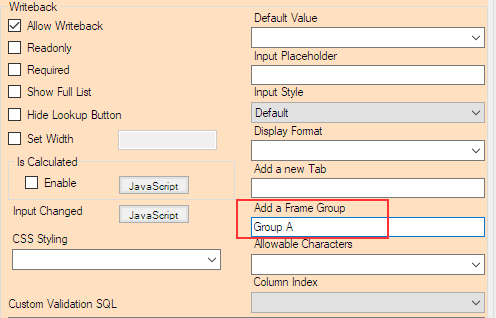
Repeat the same process for all fields in the ‘Headers’ table.
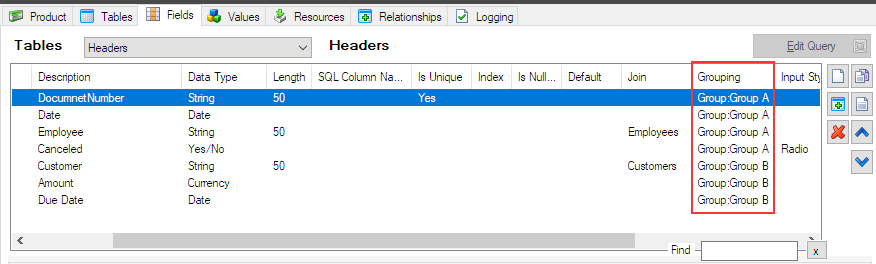
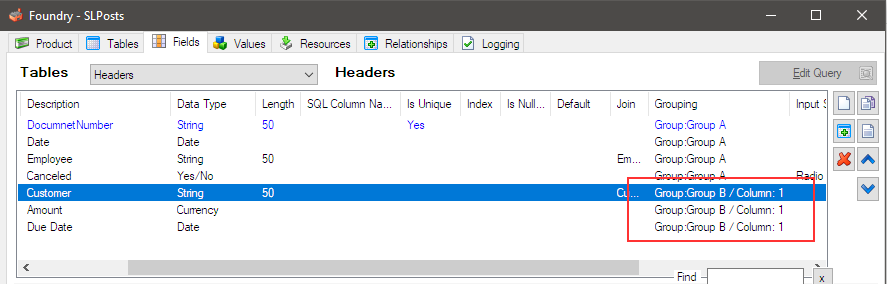
I set ‘Group A’ for the DocumentNumber, Date, Employee, and Canceled fields, and ‘Group B’ for the Customer, Amount, and Due Date fields.
Finally, the fields grid displays the grouping settings here:
Now the entry form looks like:
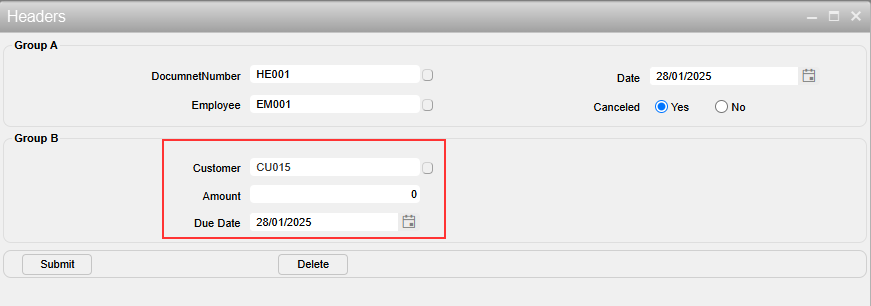
Finally, I want to display Group B in a single column.
Let’s see the advanced options for Customer, Amount and Due Date fields.
Set “Column 1” to their Writeback – Column Index option.
The entry form finally looks like:
Afterword
This time, I showed how to customize the entry form with Foundry, but we can also configure what I did here using the DataModel definition.